Calendar set-up #
-
Open Application Settings.
To do this, click on the Cmd + , or select SingularityApp > Settings in the system menu.

-
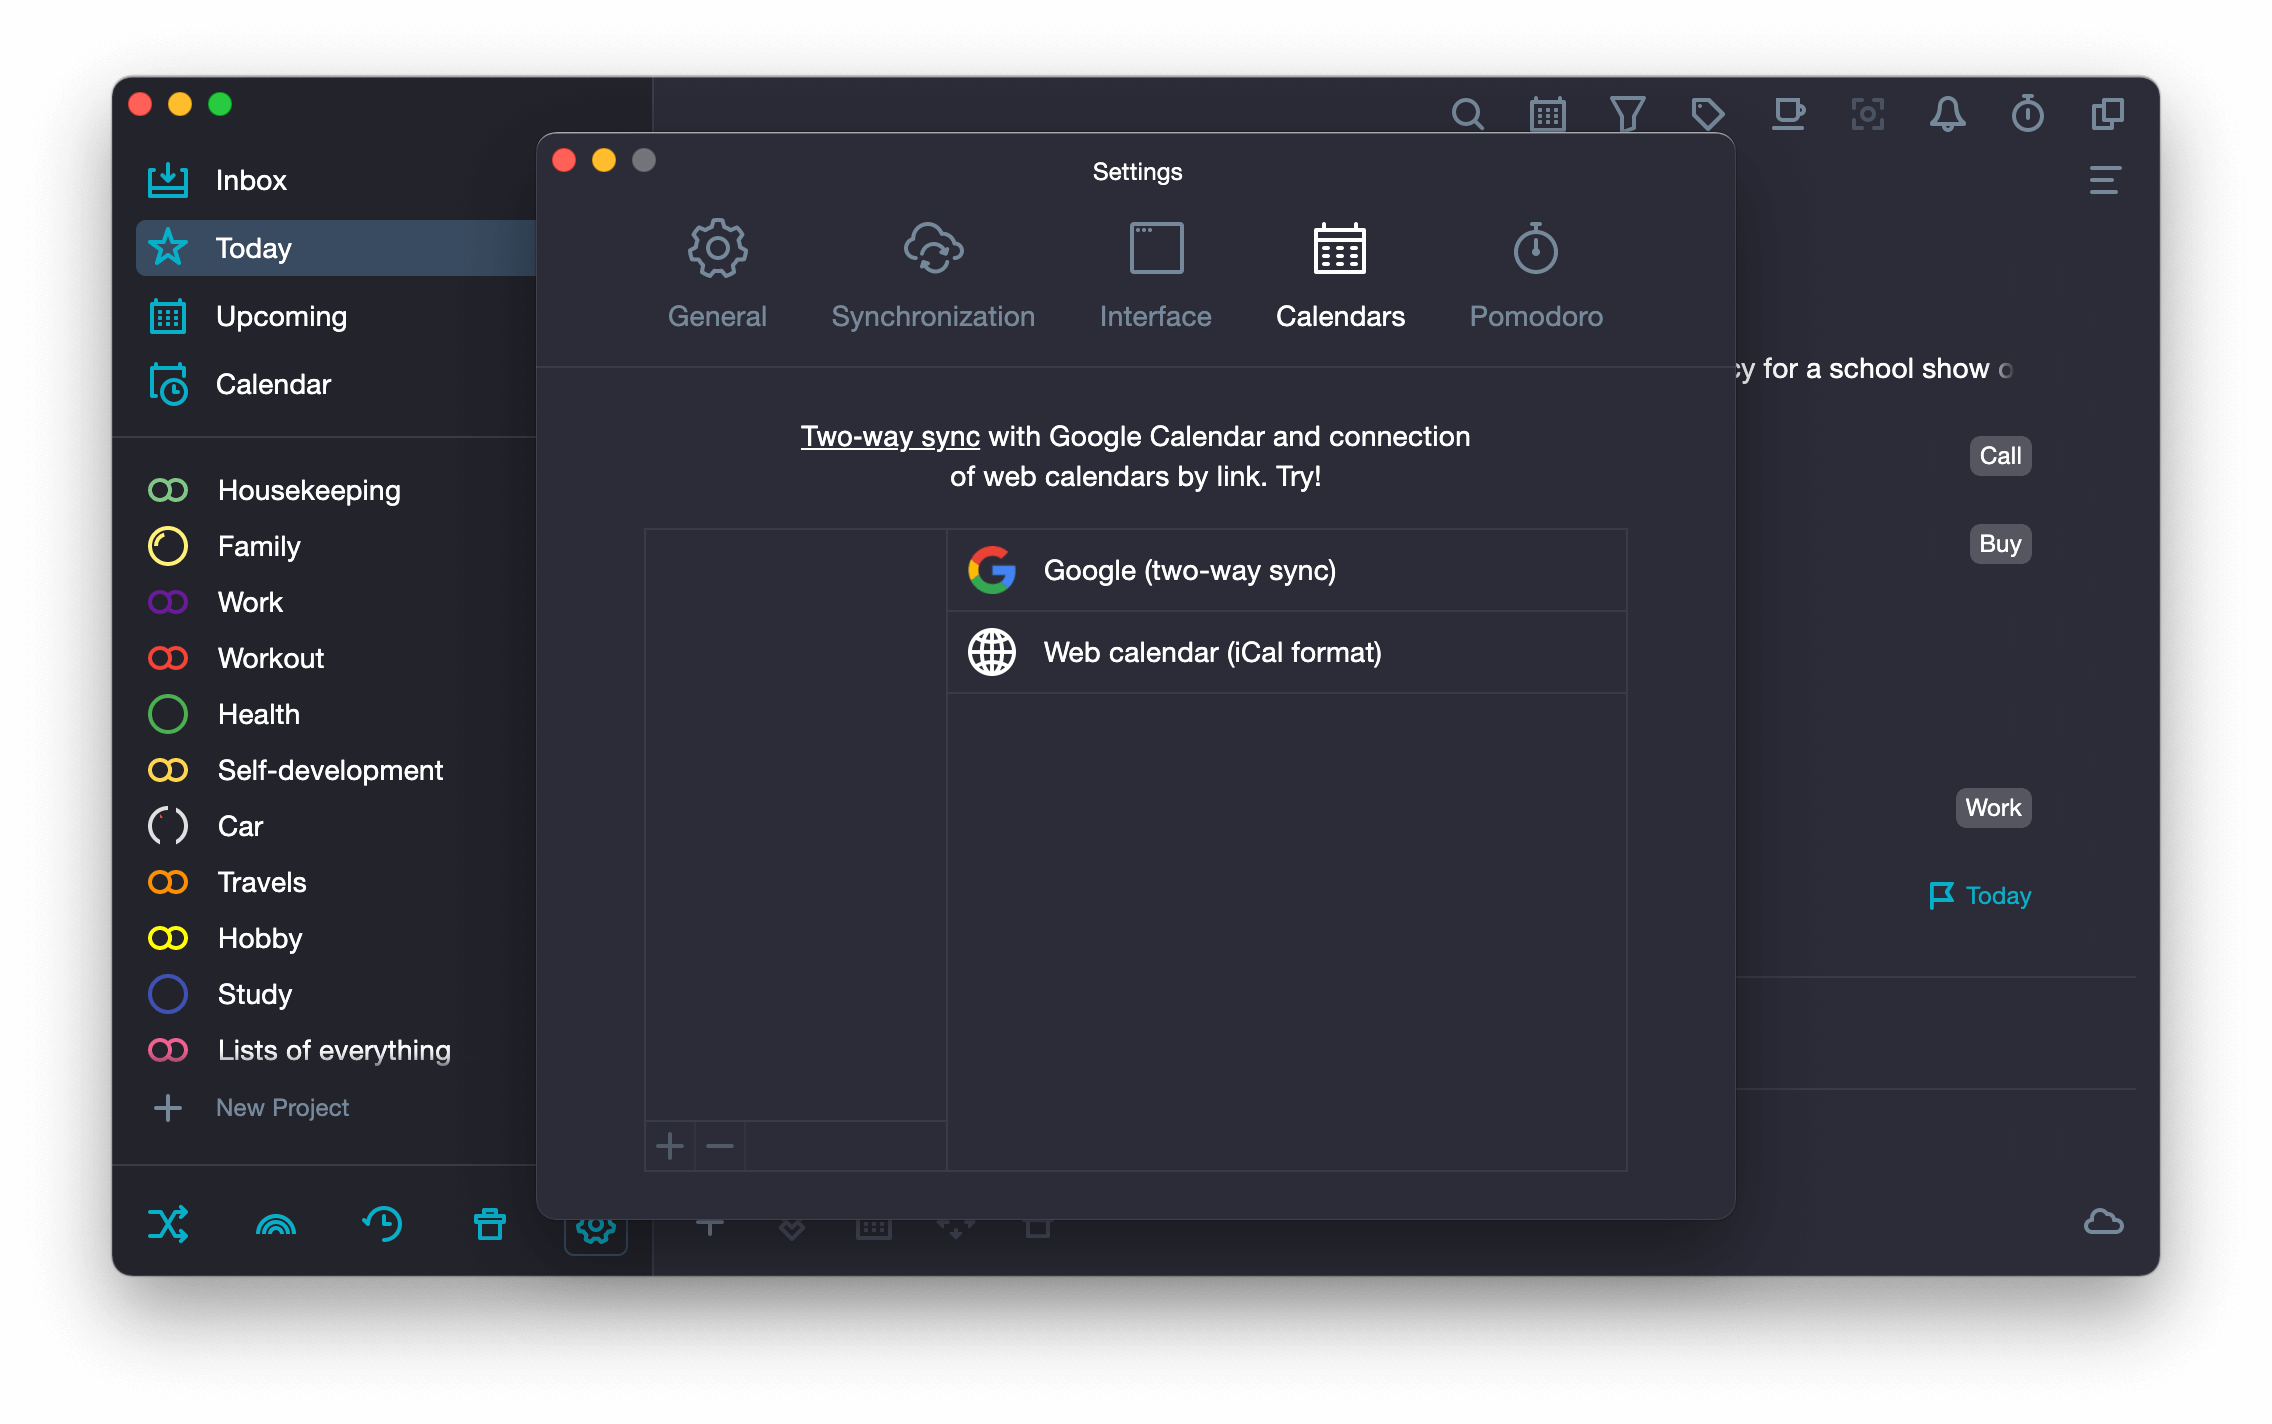
In the settings select: Calendars > Google (two-way sync).
If you have previously connected other calendars to your SingularityApp account, a list of them is displayed on the Calendars tab. Click the “+” in the lower left corner of the window to bring up the list of calendars to set up and select Google (two-way sync) in it.

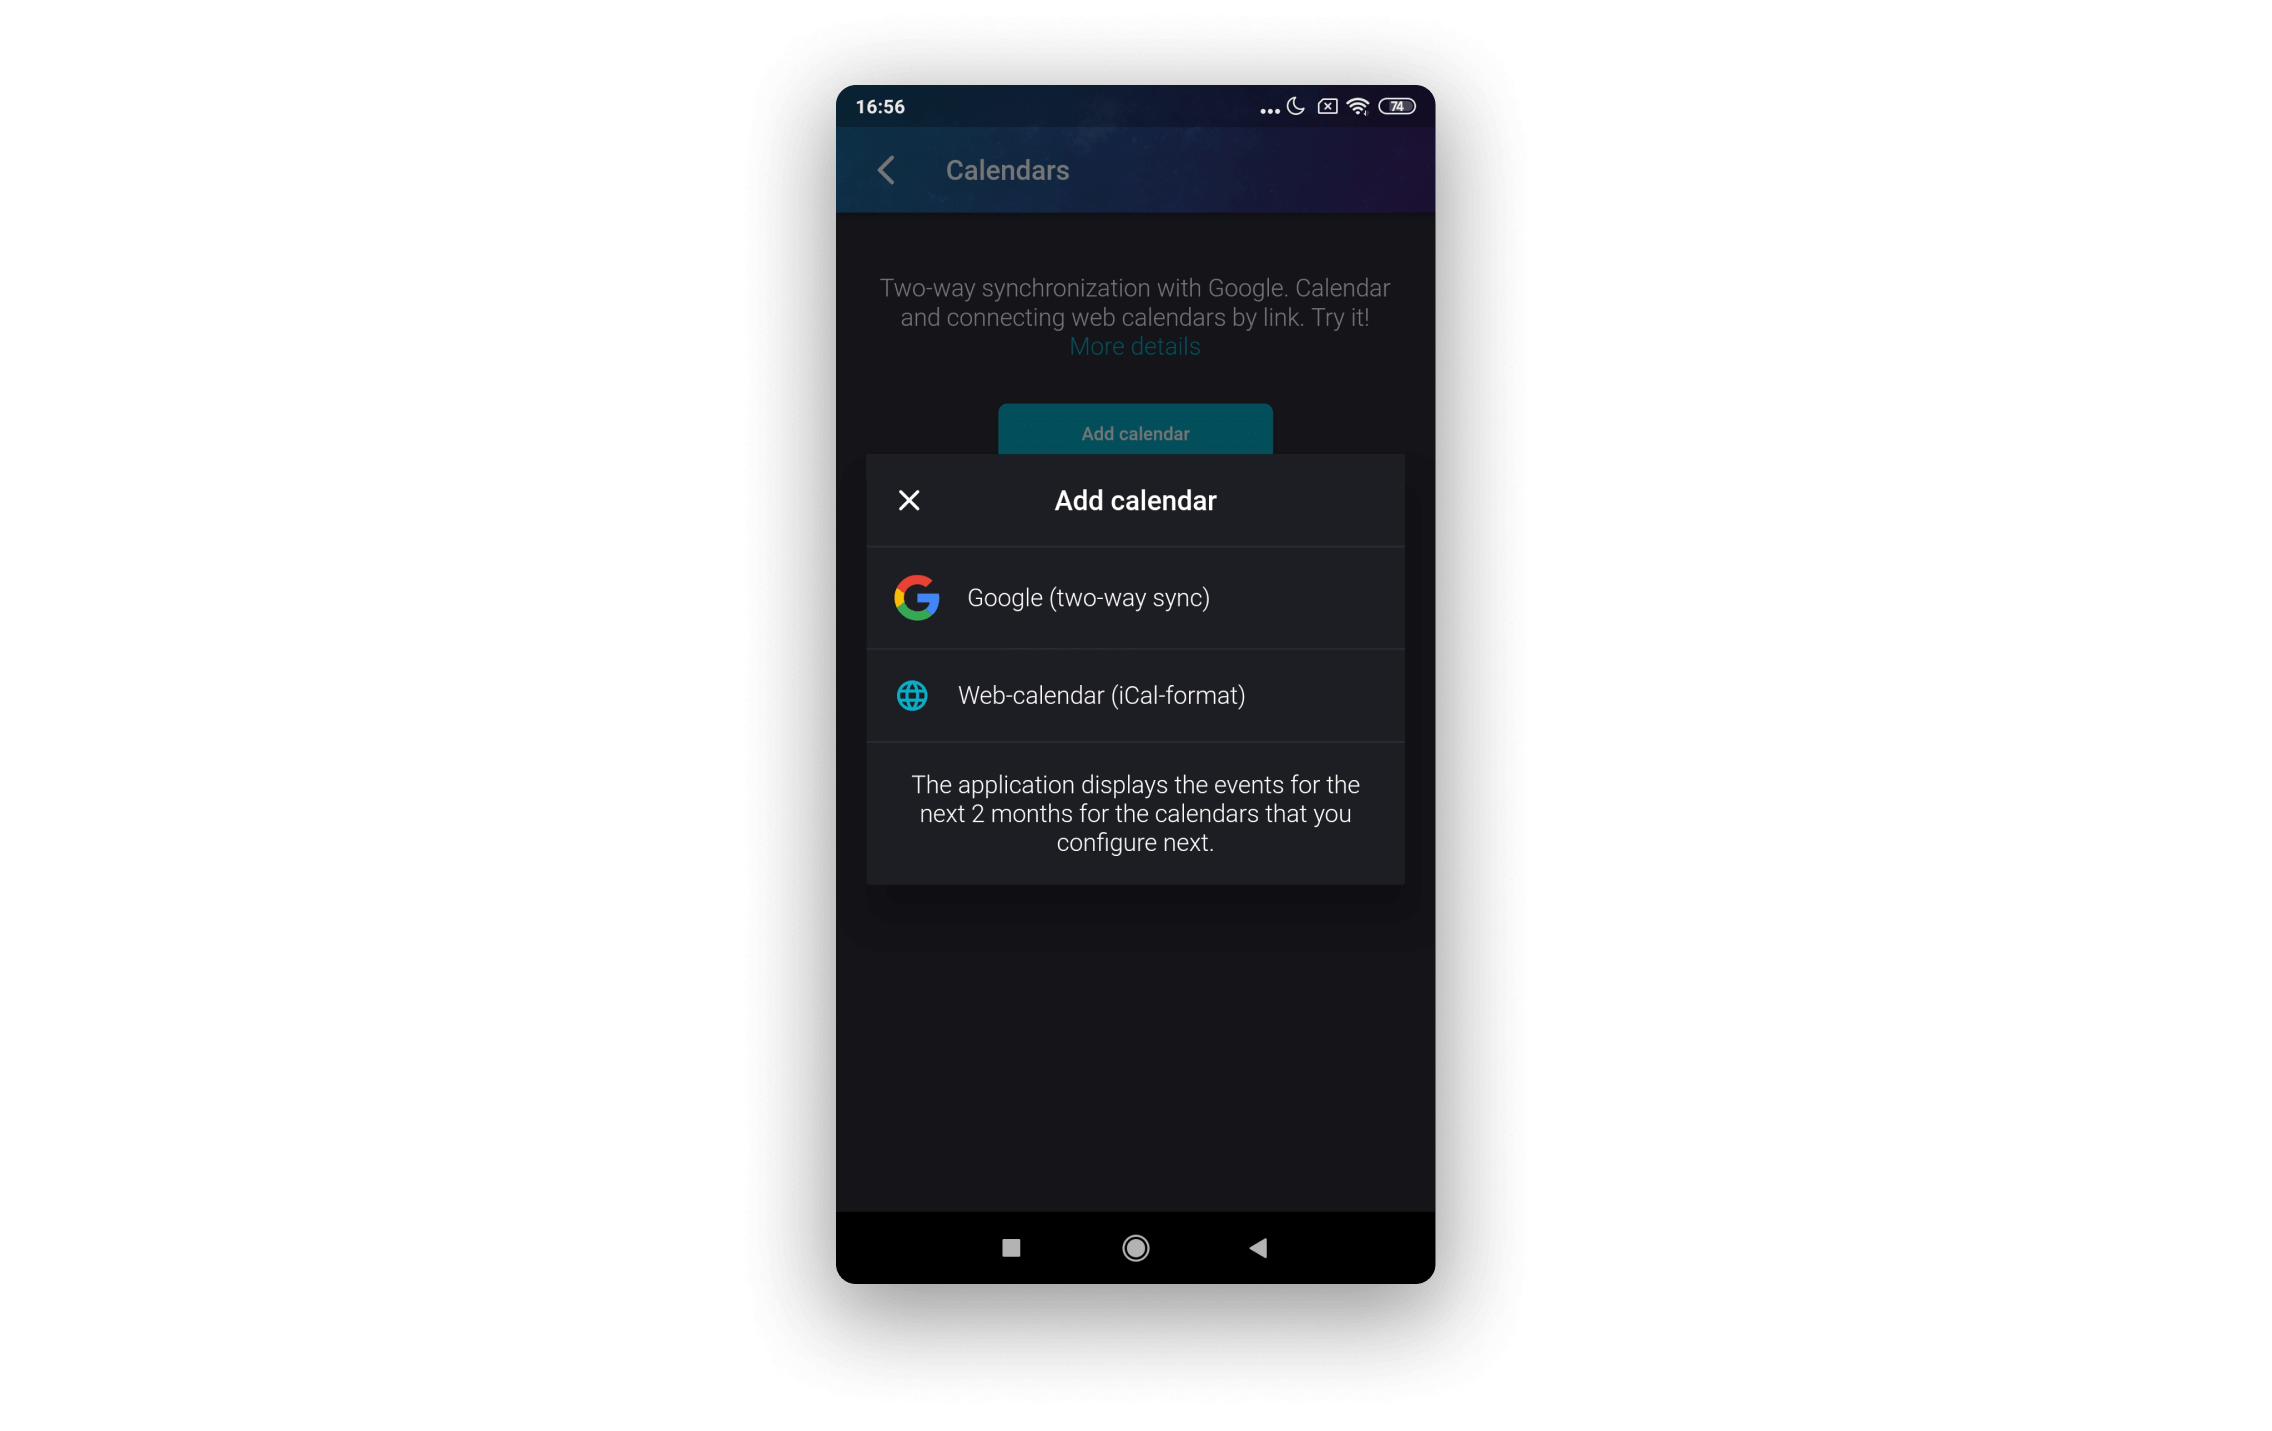
This is how it looks in the mobile app:
-
By clicking Google (two-way sync), you will navigate to the browser, to the page with an authorization form in your SingularityApp account. Enter your SingularityApp account username and password and click Login.
Authorization is a necessary security measure. We need to make sure you are the same user whose account we need to connect the calendar to.

-
You will be taken to the select Google account page. From the list, select the account which calendars you want to sync with SingularityApp and allow the application to access it (click Allow). It’s a Google safety measure to make sure you agree to allow access to your calendar data.


If you select “Cancel”, the site will display a message stating that the calendar connection failed, because the user has disabled integration. In this case, the whole procedure will have to be repeated again.

-
After that, the browser will prompt you to return to SingularityApp.
Most likely, the browser will ask for permission to open the app. Select “Open SingularityApp”

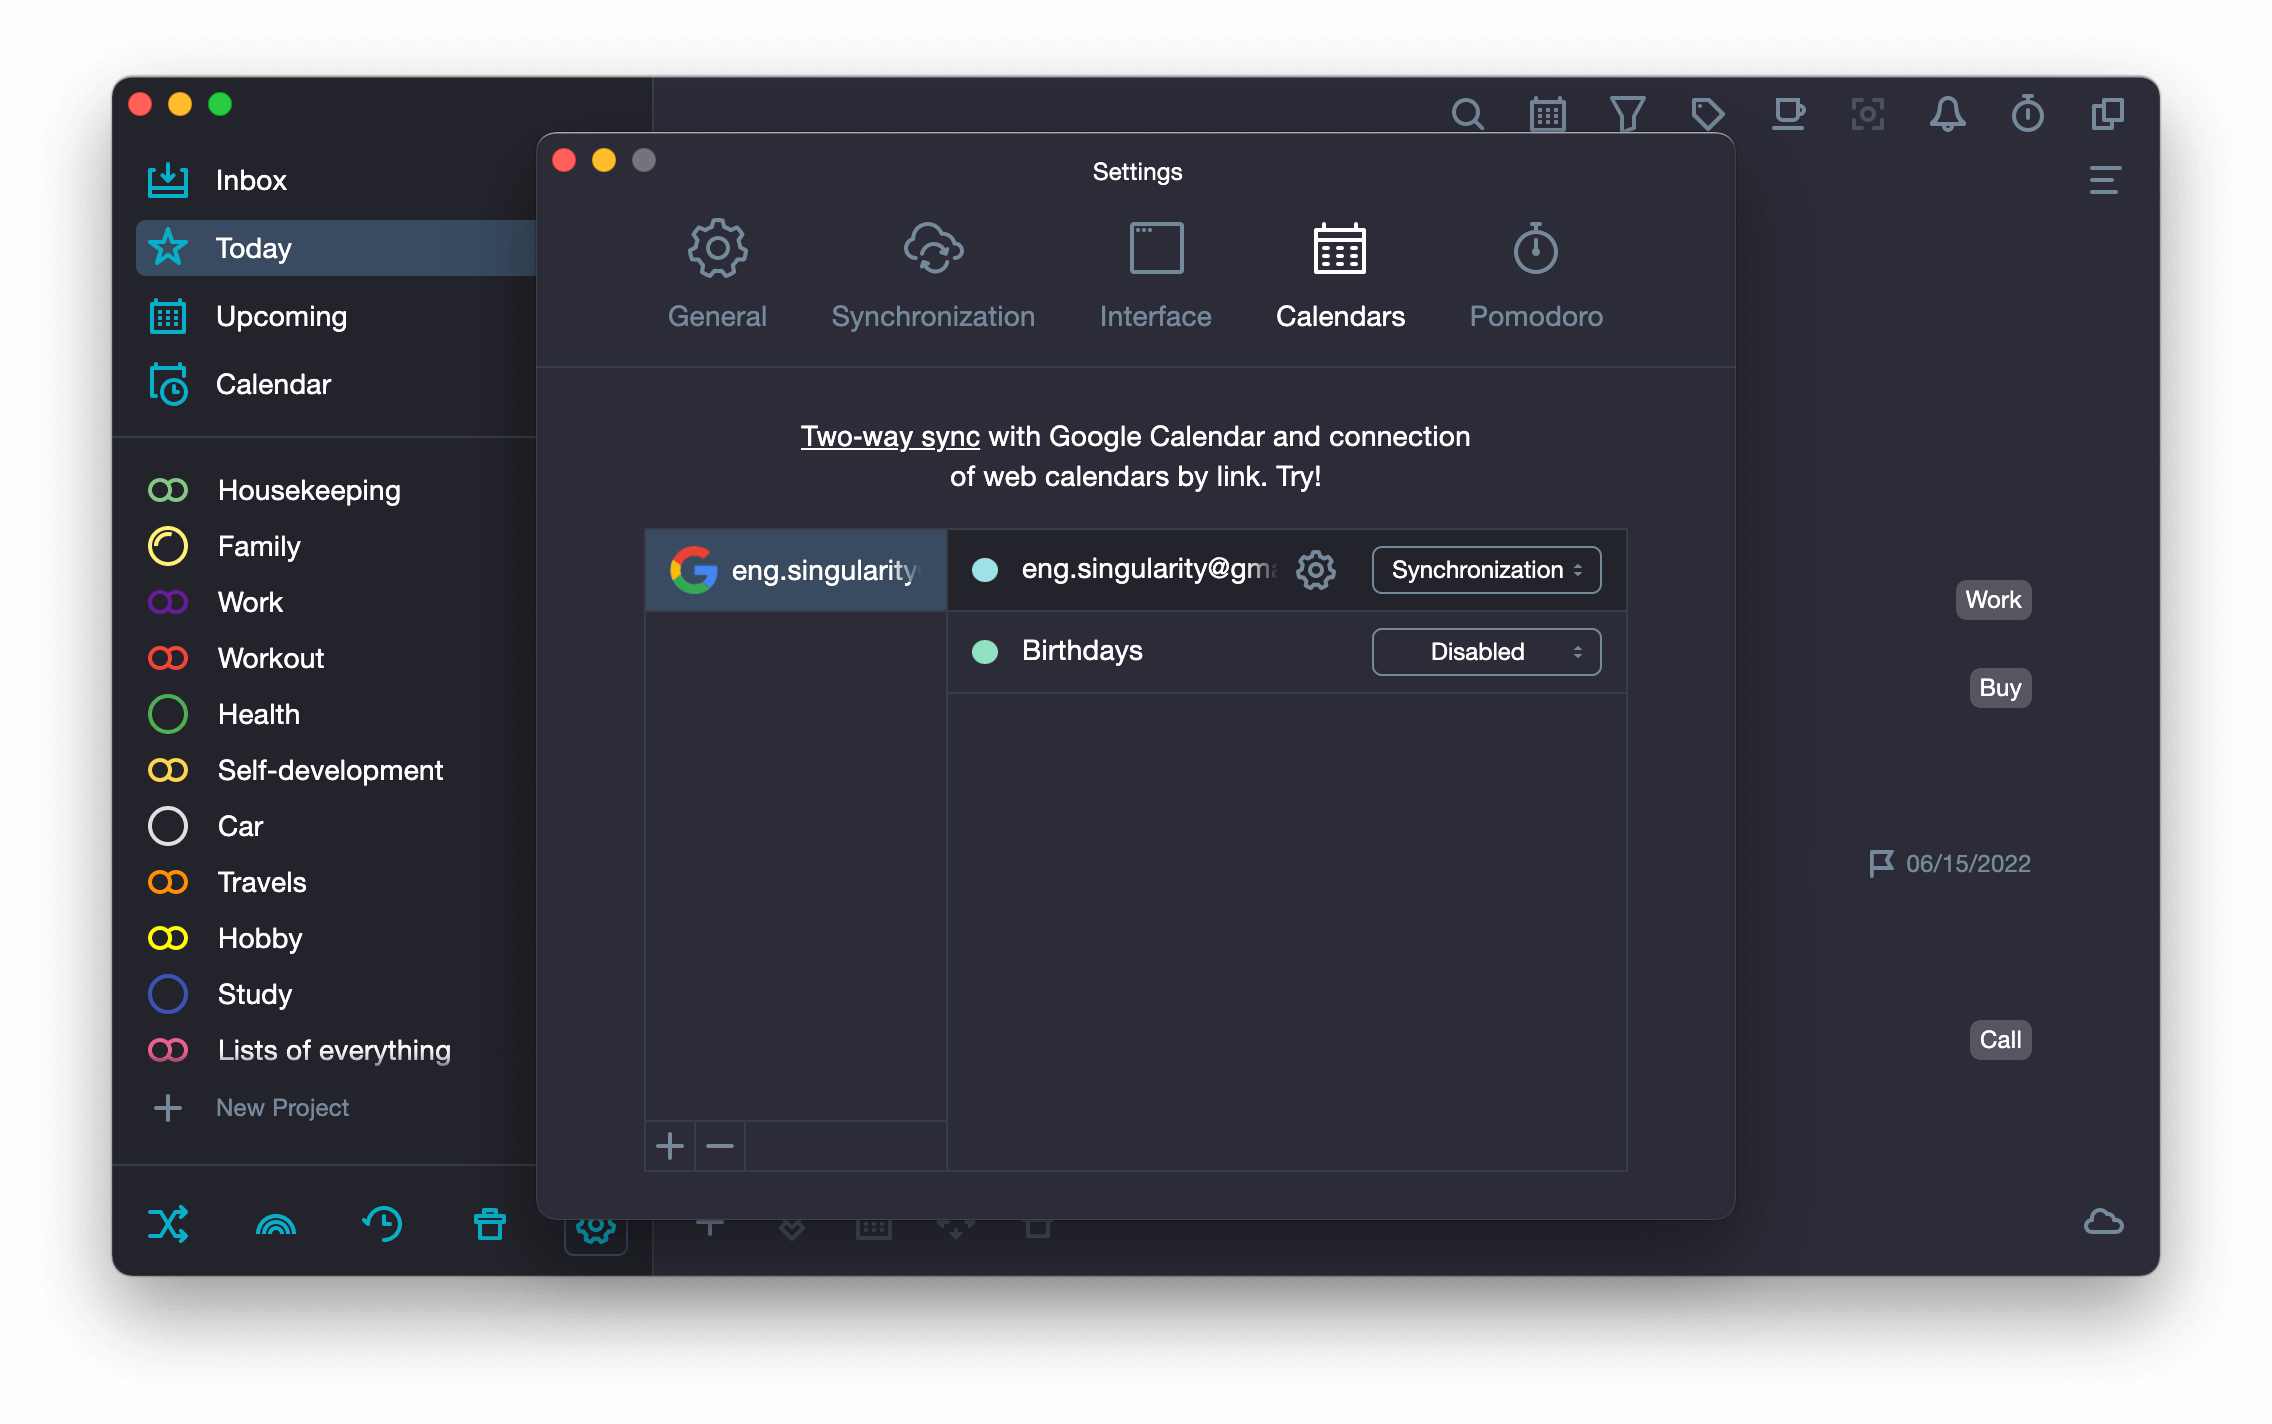
Back in SingularityApp, you will be taken to the Application Settings window, to the Calendars tab. The connected Google account will be displayed on the left, and on the right you can view all calendars from it. By default, they are Disabled, and their events are not displayed in the SingularityApp task list.

This is how it looks in the mobile app:

Now that the calendars are connected, you can configure their modes. There are two modes: View mode (you can only view calendar events in the application) and Synchronization mode (synchronization with two-way editing capability).
View mode #
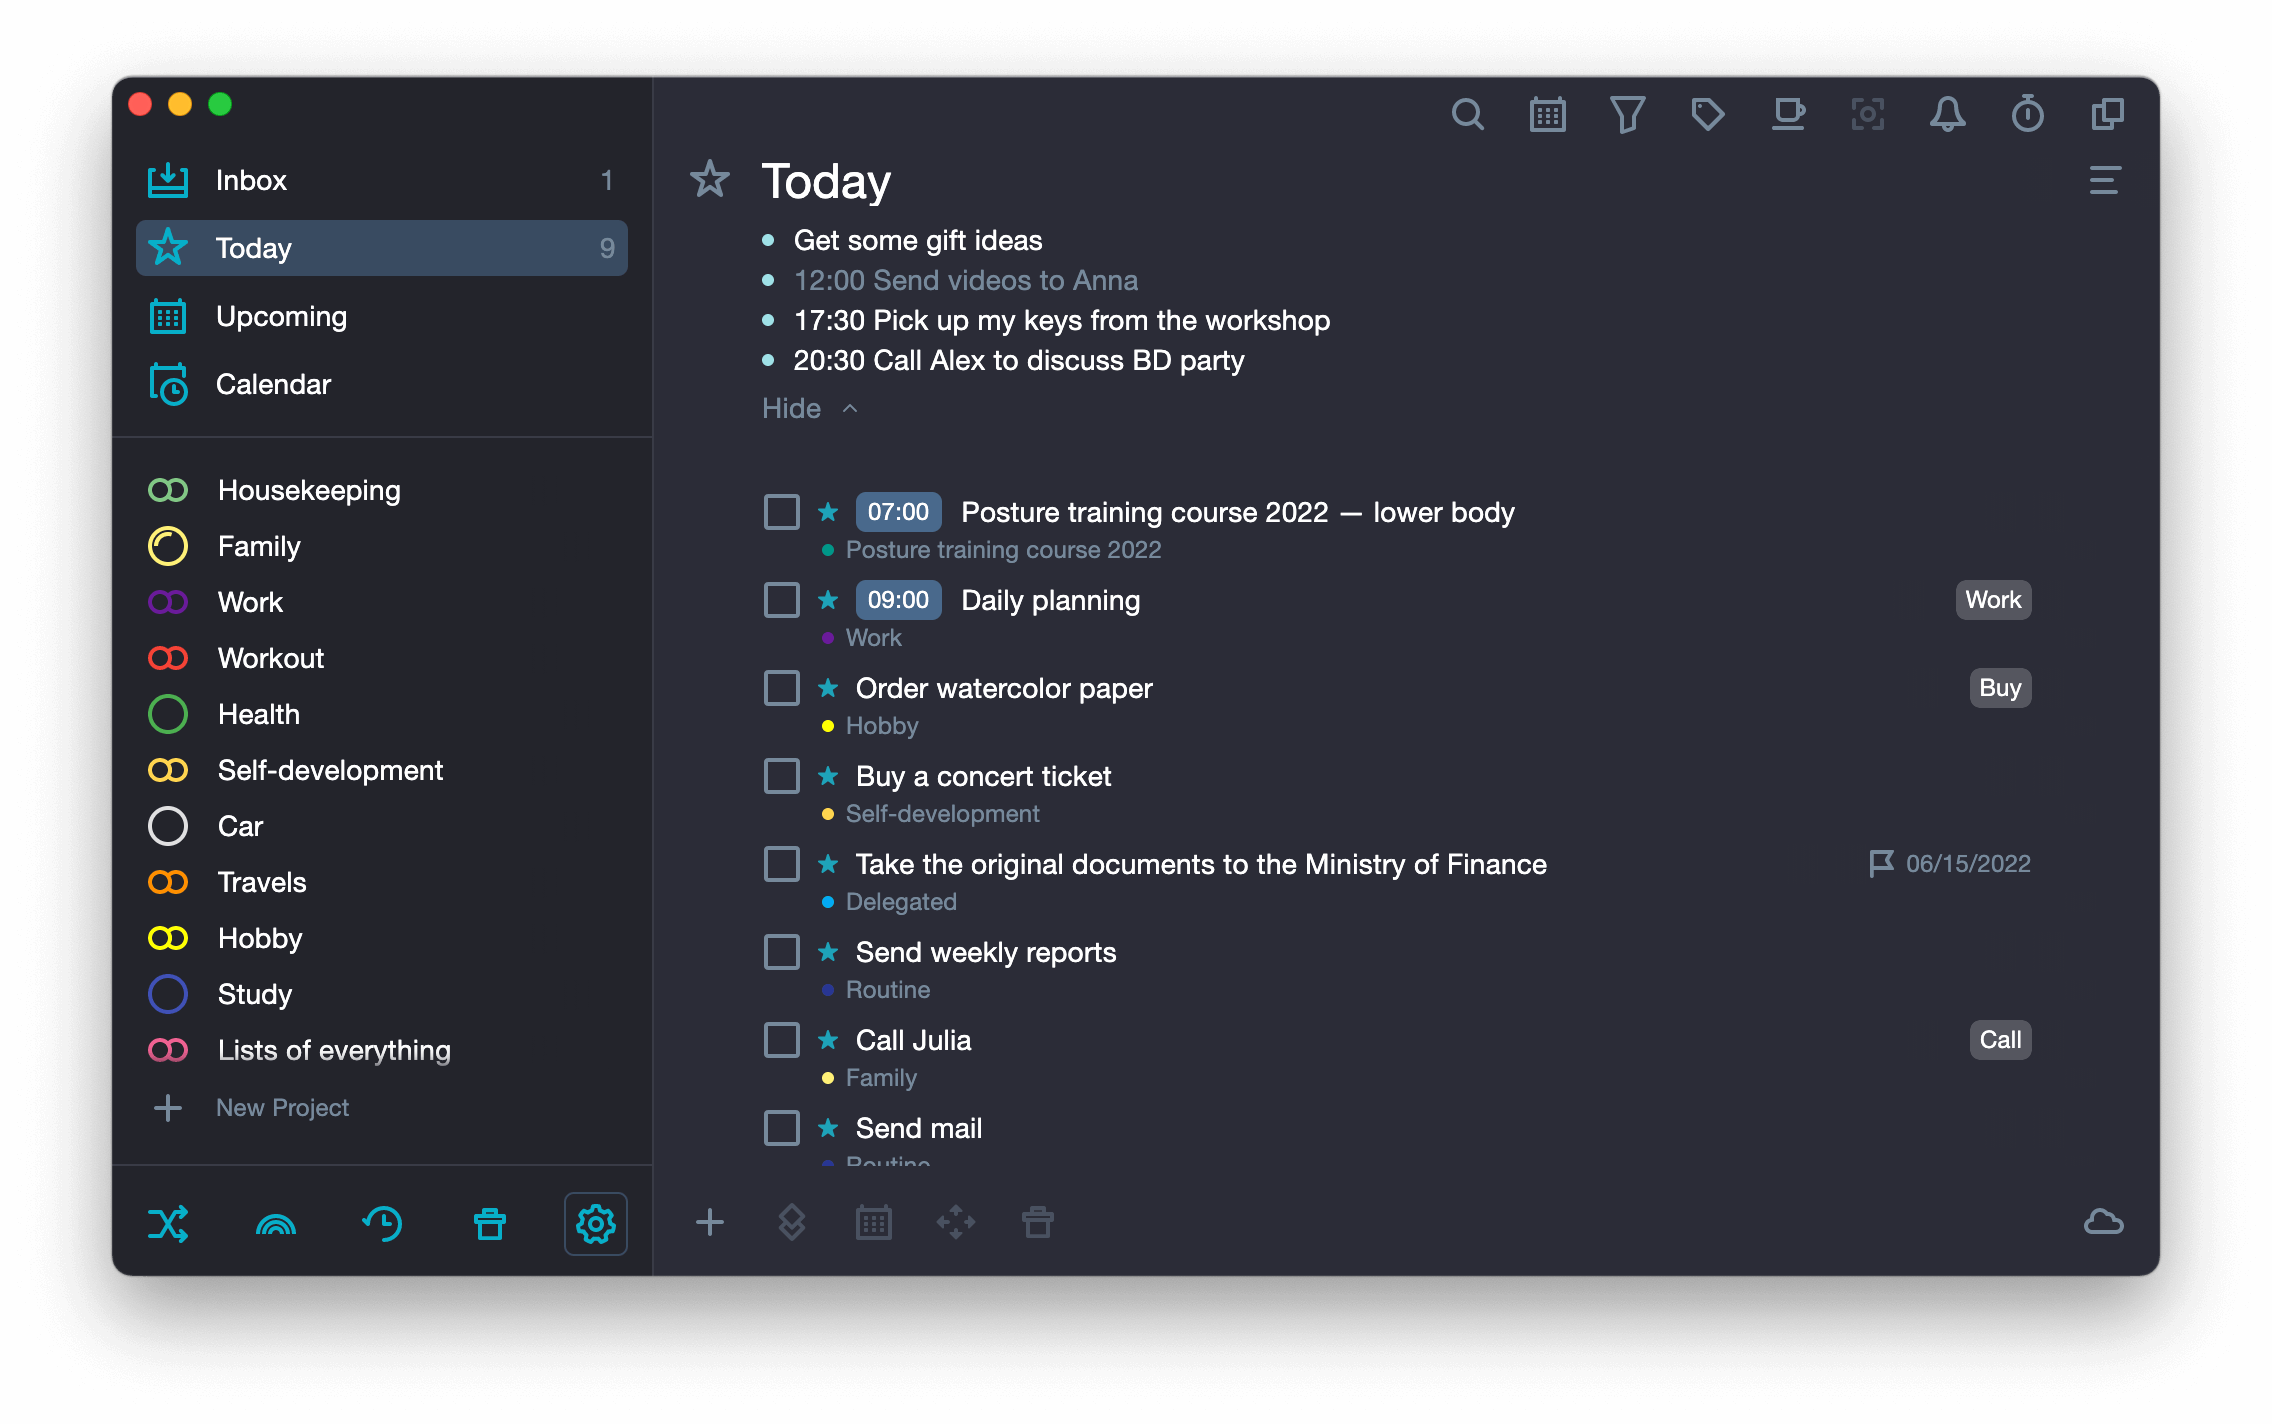
Events are imported into SingularityApp without editing capability. They are available for viewing as a list in the Today or Upcoming folders.
This is how it looks in the mobile app:
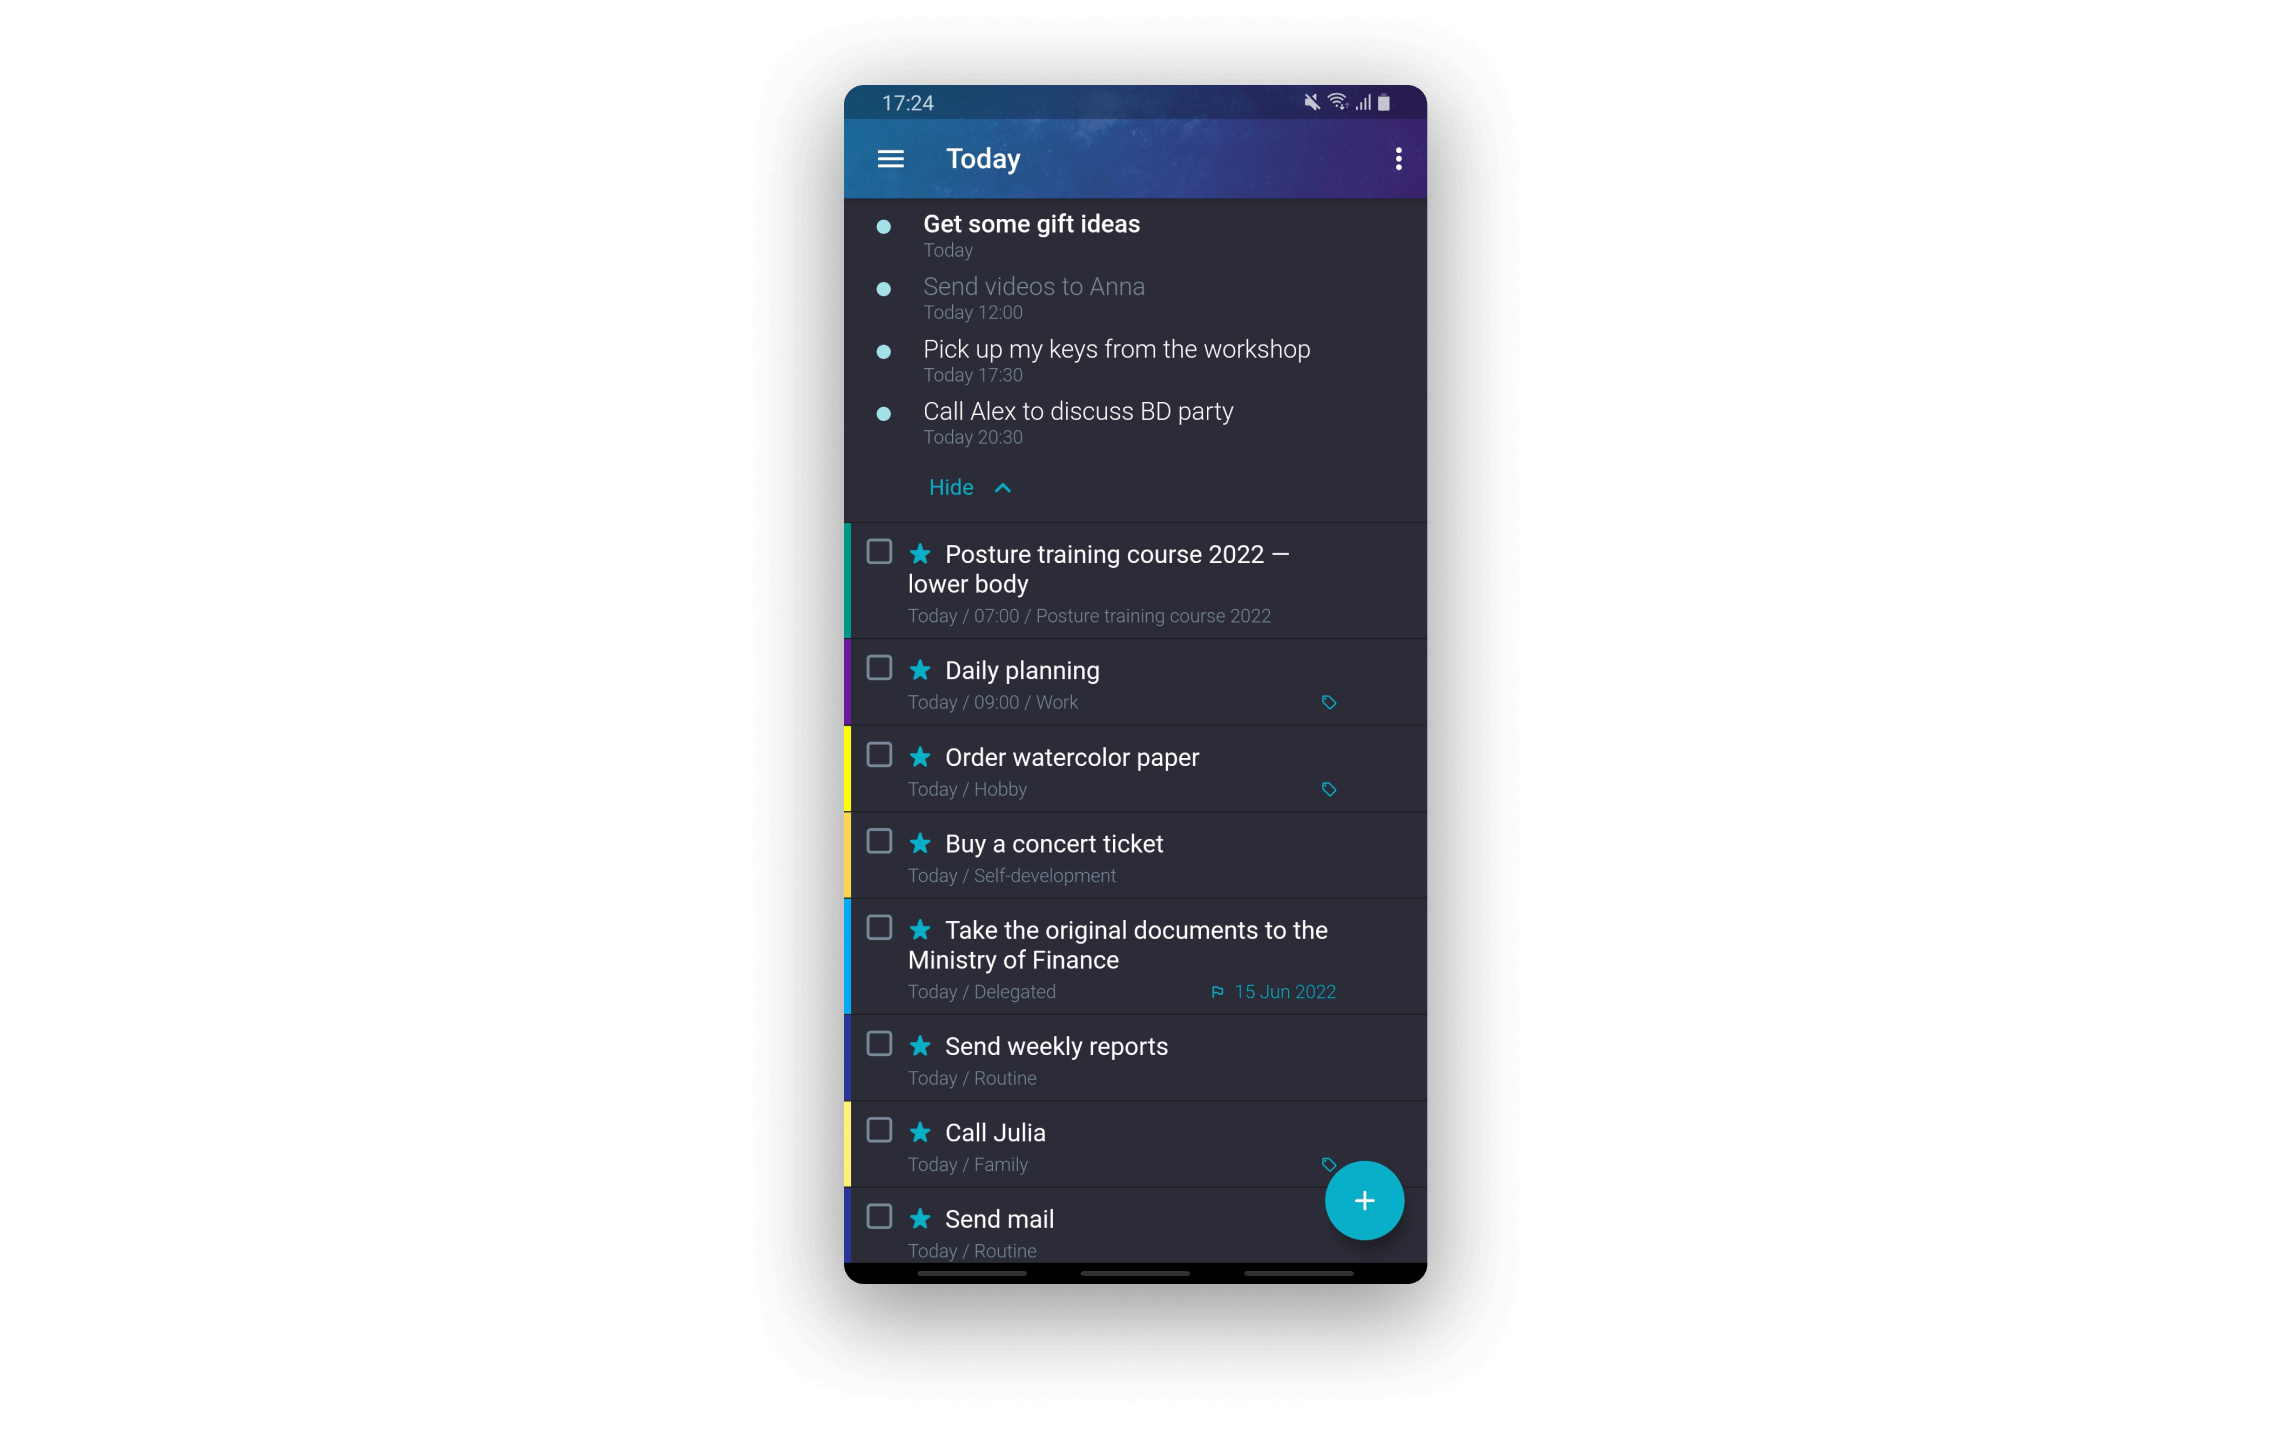
To set up the calendar in the View mode, in the settings window select the View mode for the calendar.

This is how it looks in the mobile app:

To go from SingularityApp to a calendar event in your browser, just click on that event in your To-Do list. The selected event will open for viewing.

Sync Mode #
Calendar events are fully synchronized with the tasks in the app. Any event changes made in the SingularityApp calendar are displayed on the calendar almost instantly. And vice versa — changes made in the calendar can be seen in SingularityApp.
-
To connect the calendar in synchronization mode, in the settings window select Synchronization.

-
The application will prompt you to configure the sync settings.
You can leave the default ones, or you can assign yours. Each setting is described in detail in the next paragraph. Be sure to read the description to customize your sync the way you want it. There are some nuances that are important to know before syncing, or you will get confused :)

- Done! Your Google Calendar is synced with SingularityApp.
You can now view and edit your tasks in both SingularityApp and Google Calendar.
Synchronization settings #
When you connect your calendar in sync mode, SingularityApp will prompt you to configure the following settings:
-
Calendar color.
Click the colored dot to the left of the calendar’s name and select a color from the palette.

-
A project for synchronizing with the calendar, this is very important for calendar synchronization with the application.

When you select All Projects, tasks with due dates and time of all projects and the Unplaced list will appear in the calendar. Calendar events will be displayed in the folder that you will select in the next step.
Notice: Once this setting is selected and applied, it cannot be changed while editing. If you want to change the project for the connected calendar, you need to disable the synchronization mode, and then enable and configure it again. Only one calendar can be synchronized with all projects.
A specific calendar can be synchronized with a specific project in the SingularityApp. For example, if you have a work calendar where you keep tasks assigned by your manager, then this calendar is better to be connected to the “Work” project. The calendar events list will be synchronized with the selected project.
To change a project for synchronization, you have to turn off synchronization with the calendar, then turn it on again and select a new project in the settings. Here’s what will happen to the tasks:
- The tasks synchronized with the original project will remain in it;
- The same tasks will appear in the new project;
- The To-Do list for the day will display the same tasks in both projects, the original one and the new one.
To prevent tasks repeating, filter them by the tag in the original project, highlight and delete.
In the blog post. we have detailed how configuration for syncing a project with the calendar works. You should read it to get the whole picture :)
-
The folder for all tasks created in the calendar.
The option is available if «All Projects» is selected for sync.

Notice: Once this setting is selected and applied, it cannot be changed while editing. If you want to change the project for the connected calendar, you need to disable the synchronization mode, and then enable and configure it again.
-
Event duration.
The chosen duration will be assigned to the calendar events created from the application tasks with no duration.

-
Managing the tasks from SingularityApp with no due time.
There are two options: you can send tasks to the calendar and assign the «All Day duration», or just don’t synchronize the tasks with the calendar.
Notice: This setting is not applied to the tasks that were previously synchronized with the application.

-
Managing completed tasks.
This configuration will be applied for the tasks which are marked as completed in SingularityApp (for checked tasks).
- You can leave completed tasks in the calendar — nothing will happen to them there;
- You can remove them from the calendar — they will be moved to the Recycle Bin. When you remove the completion mark, the calendar event will be restored;
- You can leave them and click on the name — a checkmark icon will be added to the event name. When you remove the completion mark in the application, the check mark in the calendar will disappear.

-
Tag for tasks added from Calendar.
Write the name of the tag into the textbox. This tag will be assigned to all calendar-based tasks after enabling this setting. Notice: The changed tag does not apply to the tasks that were previously synchronized with the application; the previous tag value will be retained for them.

After successful synchronization, a gear icon appears next to the calendar’s name; the synchronization settings window opens when you click on it. You can always change the settings for the calendar (except for those that can be configured just once).
