Home screen #
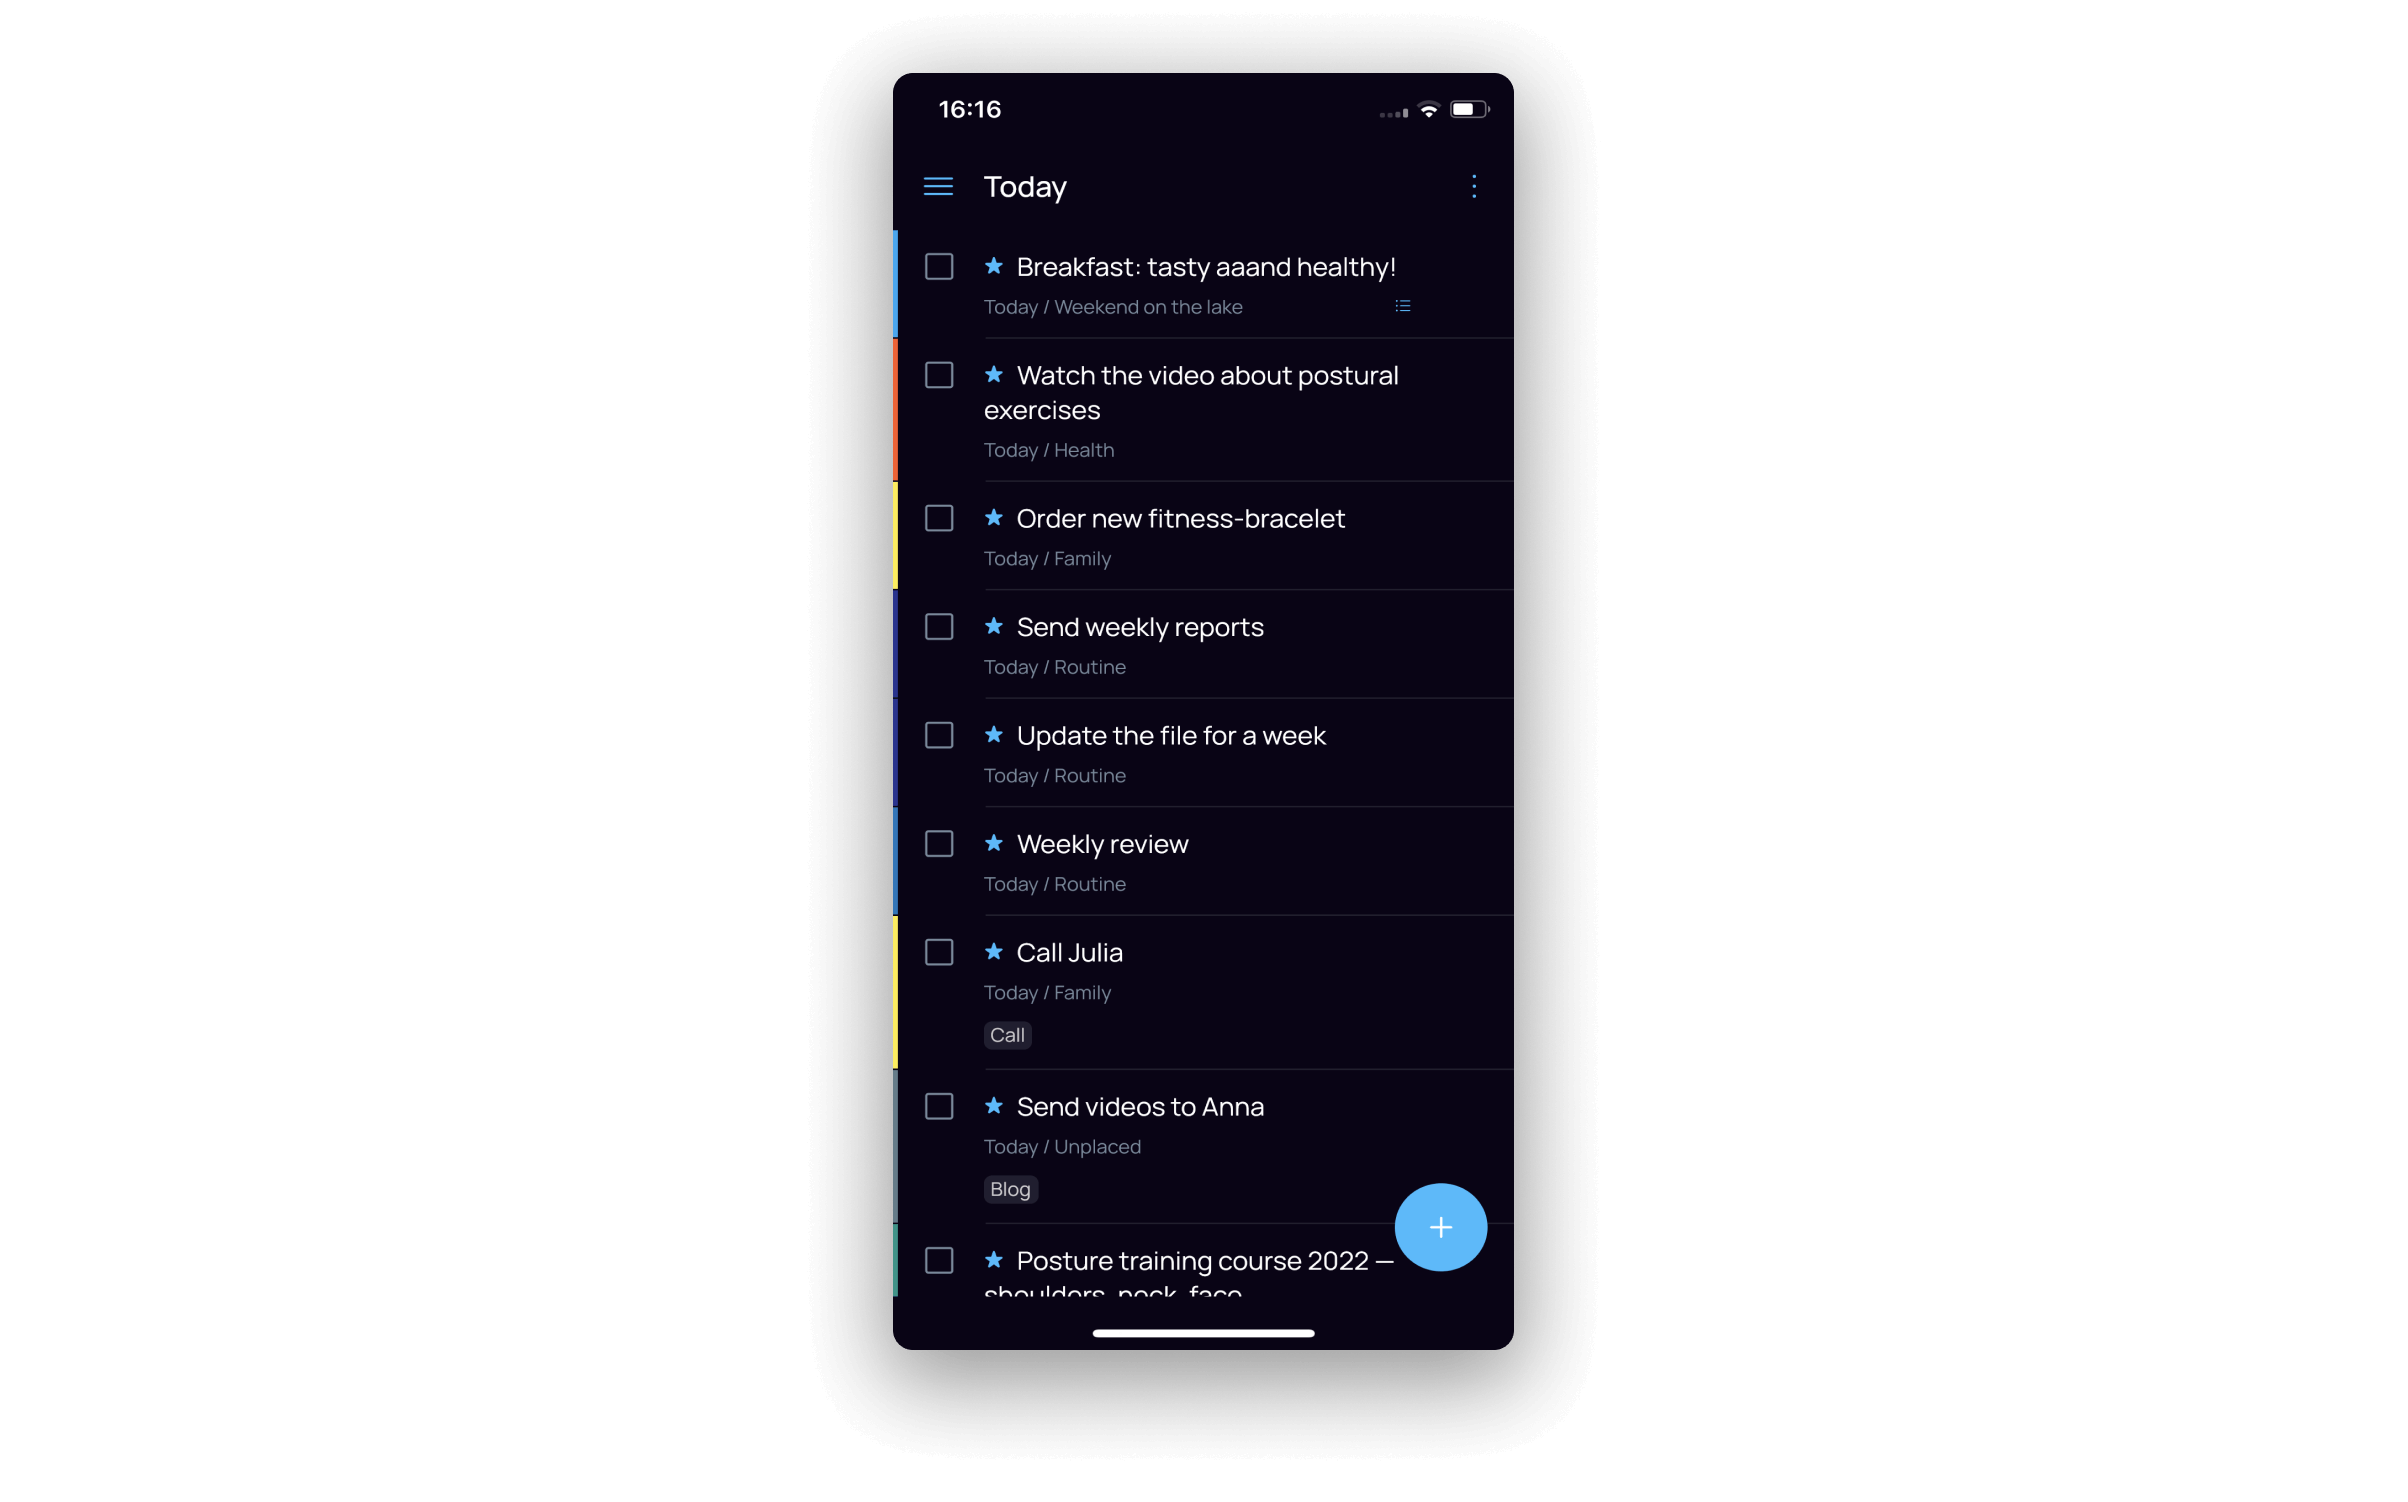
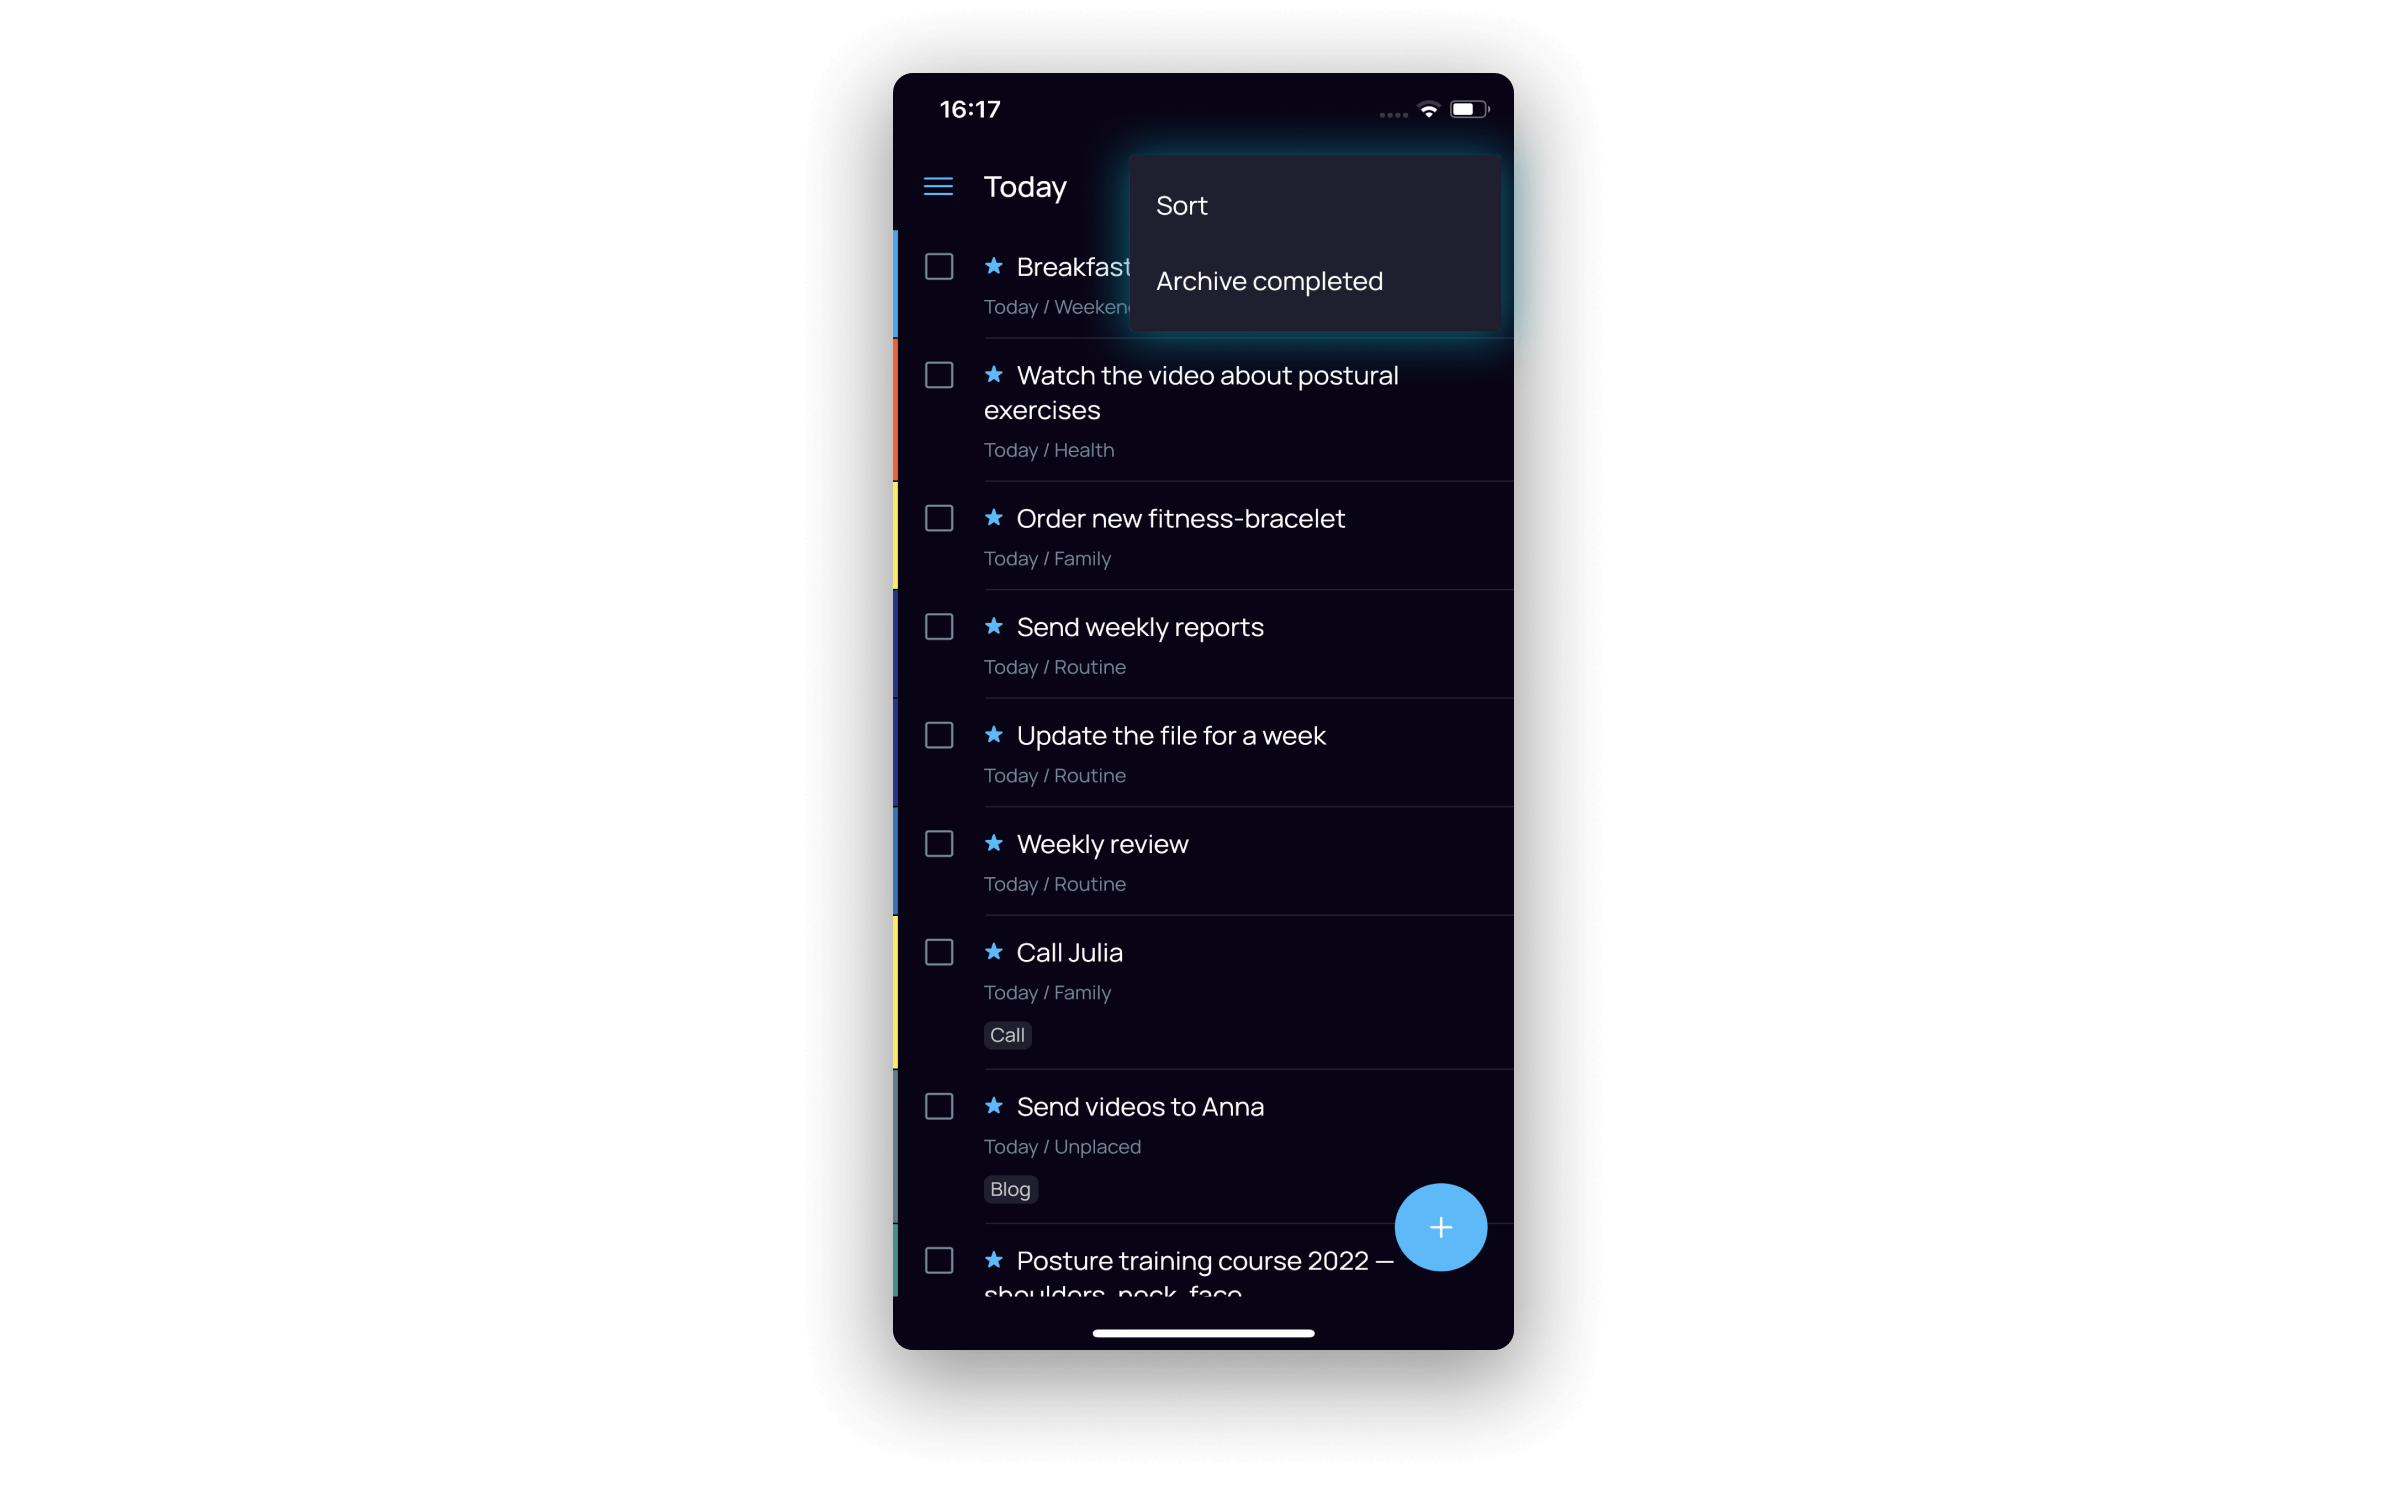
When you launch the app, it always greets you on the «Today» tab. The menu is always available to you at the top left. On the right there is an icon that hides manual sorting or archiving of completed tasks.
To get to the bottom items of the menu, scroll down
Sidebar #
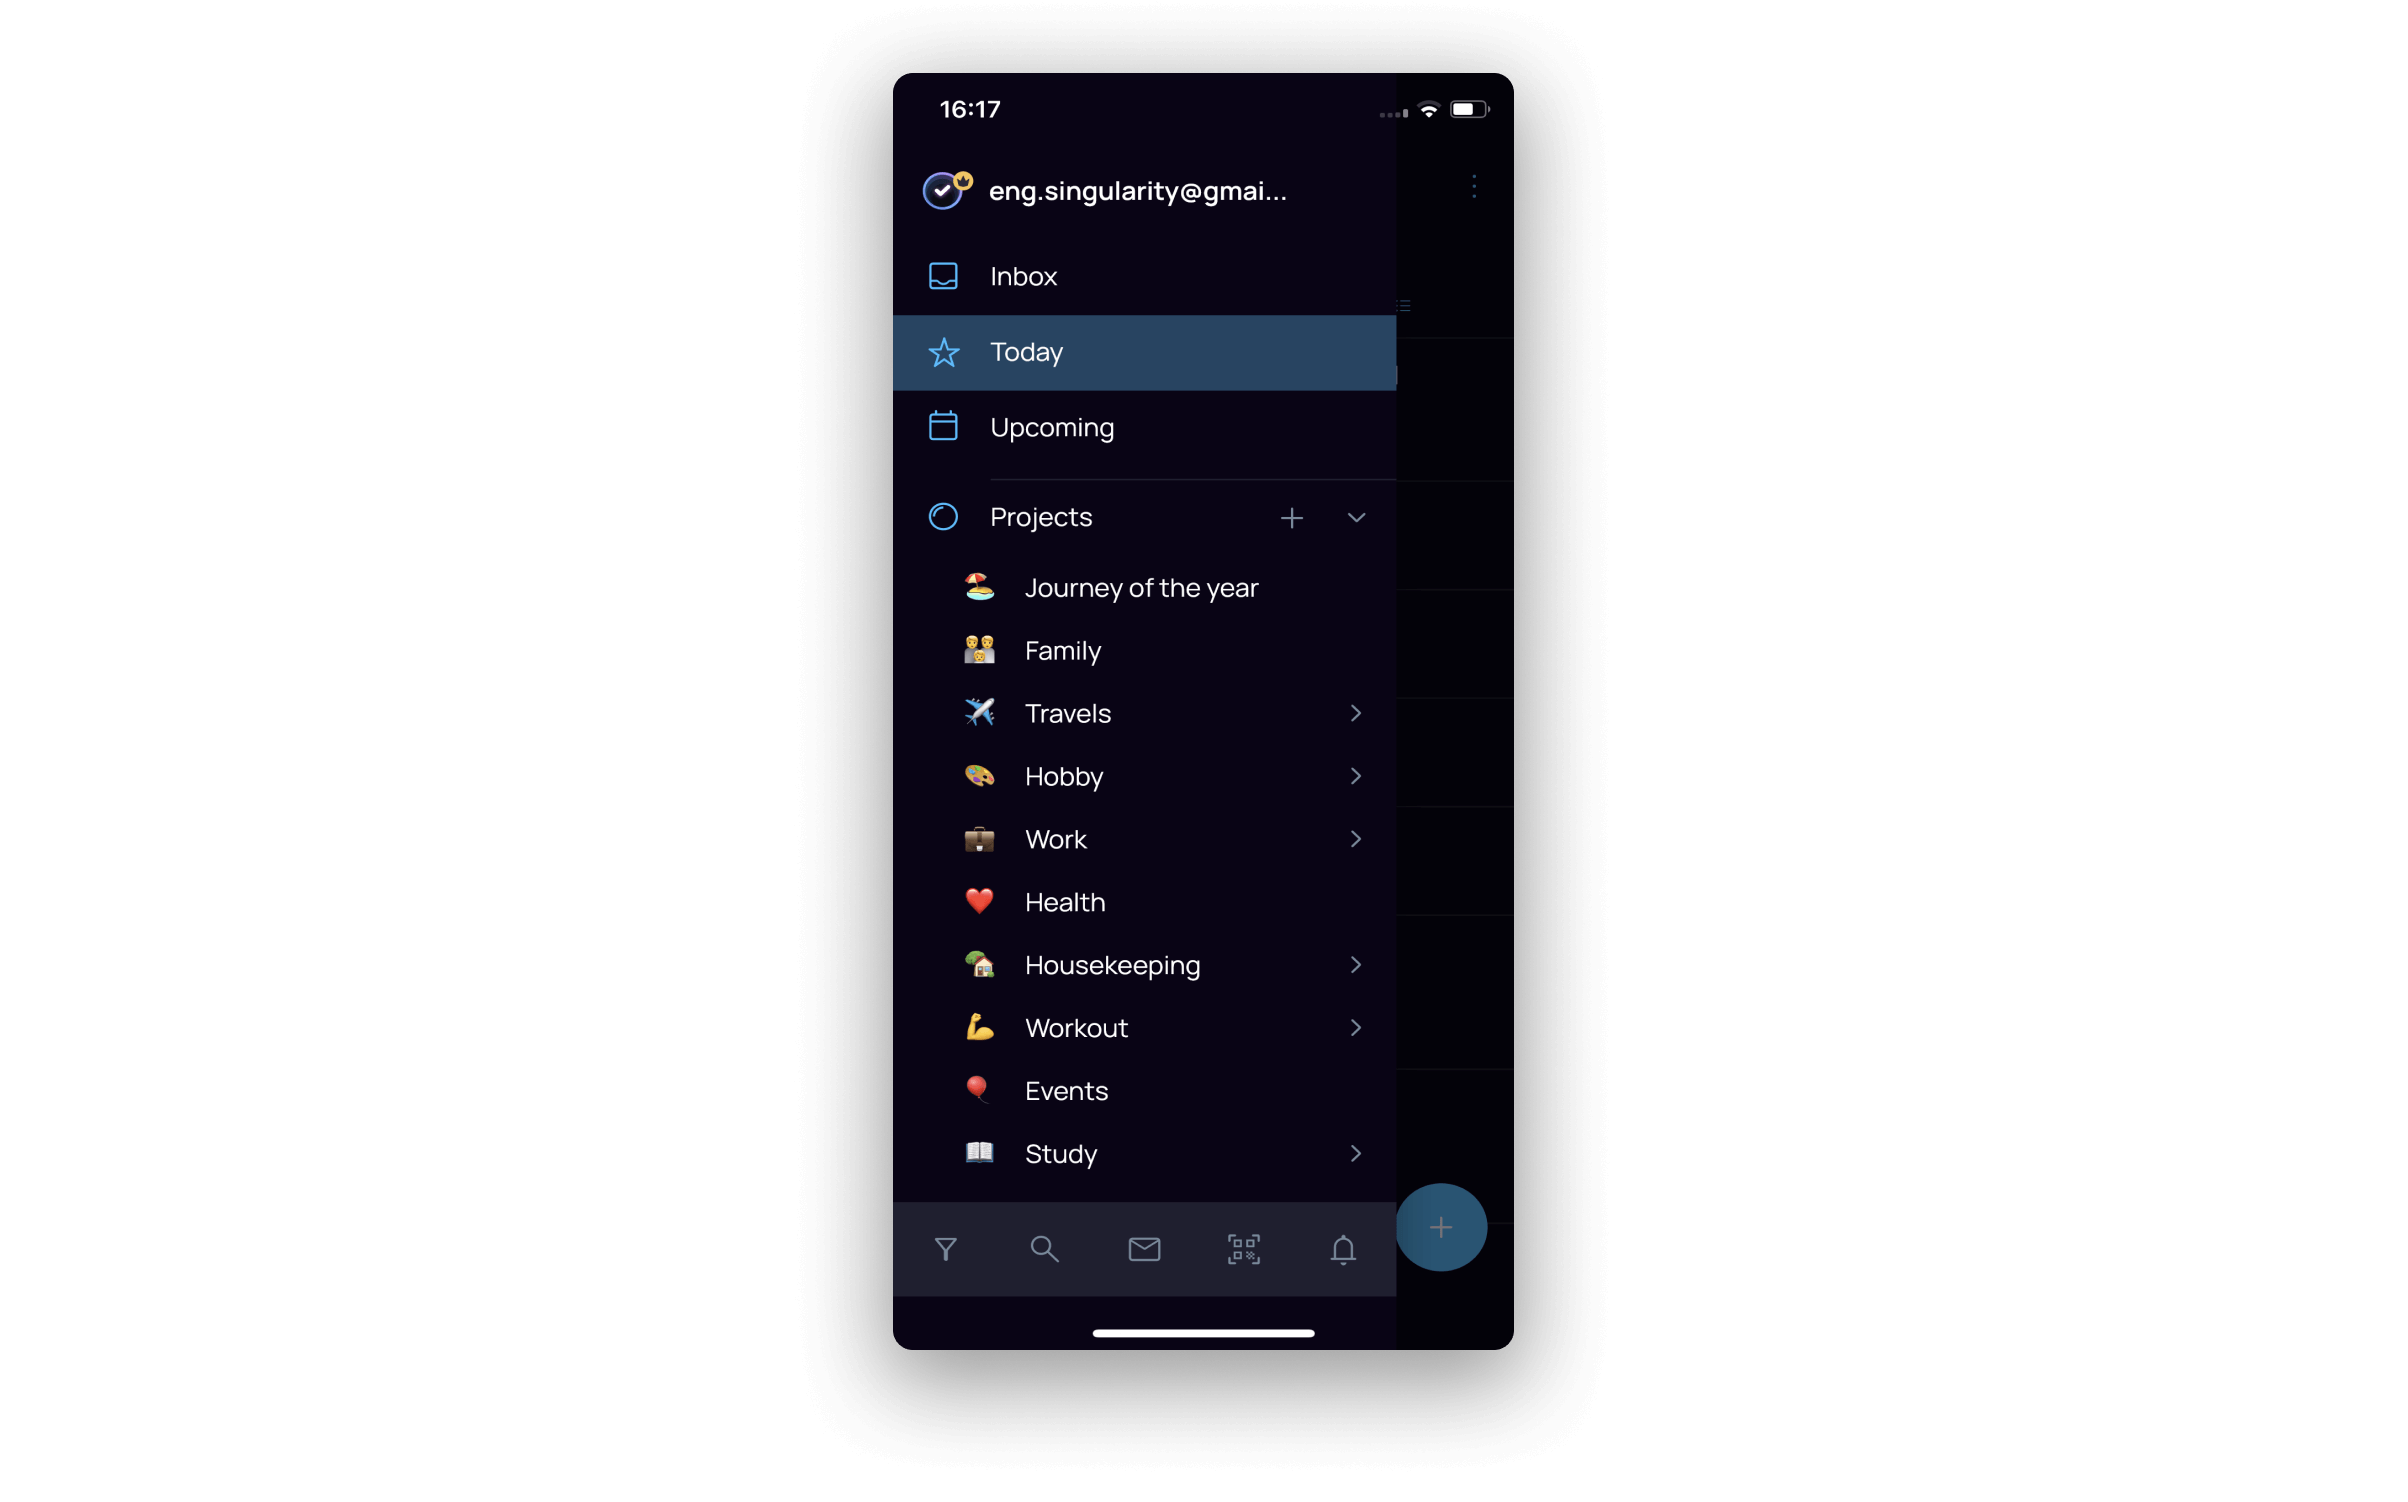
The sidebar menu appears when you click on the icon at the top left. Here you can see all the system folders. On the bottom bar, there are Filter  , Search
  , Pomodoro timer
  , Scan printed to-do list
  and Notifications
  icons.
To upload the notes from a printout to the app, click on the necessary icon, allow access to the camera of your smartphone and take a photo (Pro version only).


You’ll also find all the necessary folders and sections in the sidebar menu. They are the same for the web and PC versions:
- Inbox — for recording ideas and tasks on the fly;
- Today — a to-do list containing tasks for the next 24 hours from all other folders;
- Upcoming — a schedule of current and future tasks by days in the form of a list with a counter of tasks near each date. You can expand and view the list of tasks;
- Calendar β — plans in a calendar grid for a day, 3 days, a week or a month (this feature is available only for Pro users).
- Habits — a habit tracker.
- Favorites — this folder stores selected tasks, projects and tags so that they are always at hand (in order to have a section appeared on the menu, you should add at least one item to the Favorites);
- Projects — a collapsible section that can contain as many projects and subprojects as you like: you can always see their hierarchy and color indication here;
- Unplaced — all tasks from the Inbox that do not have a specific project assigned to them are placed here;
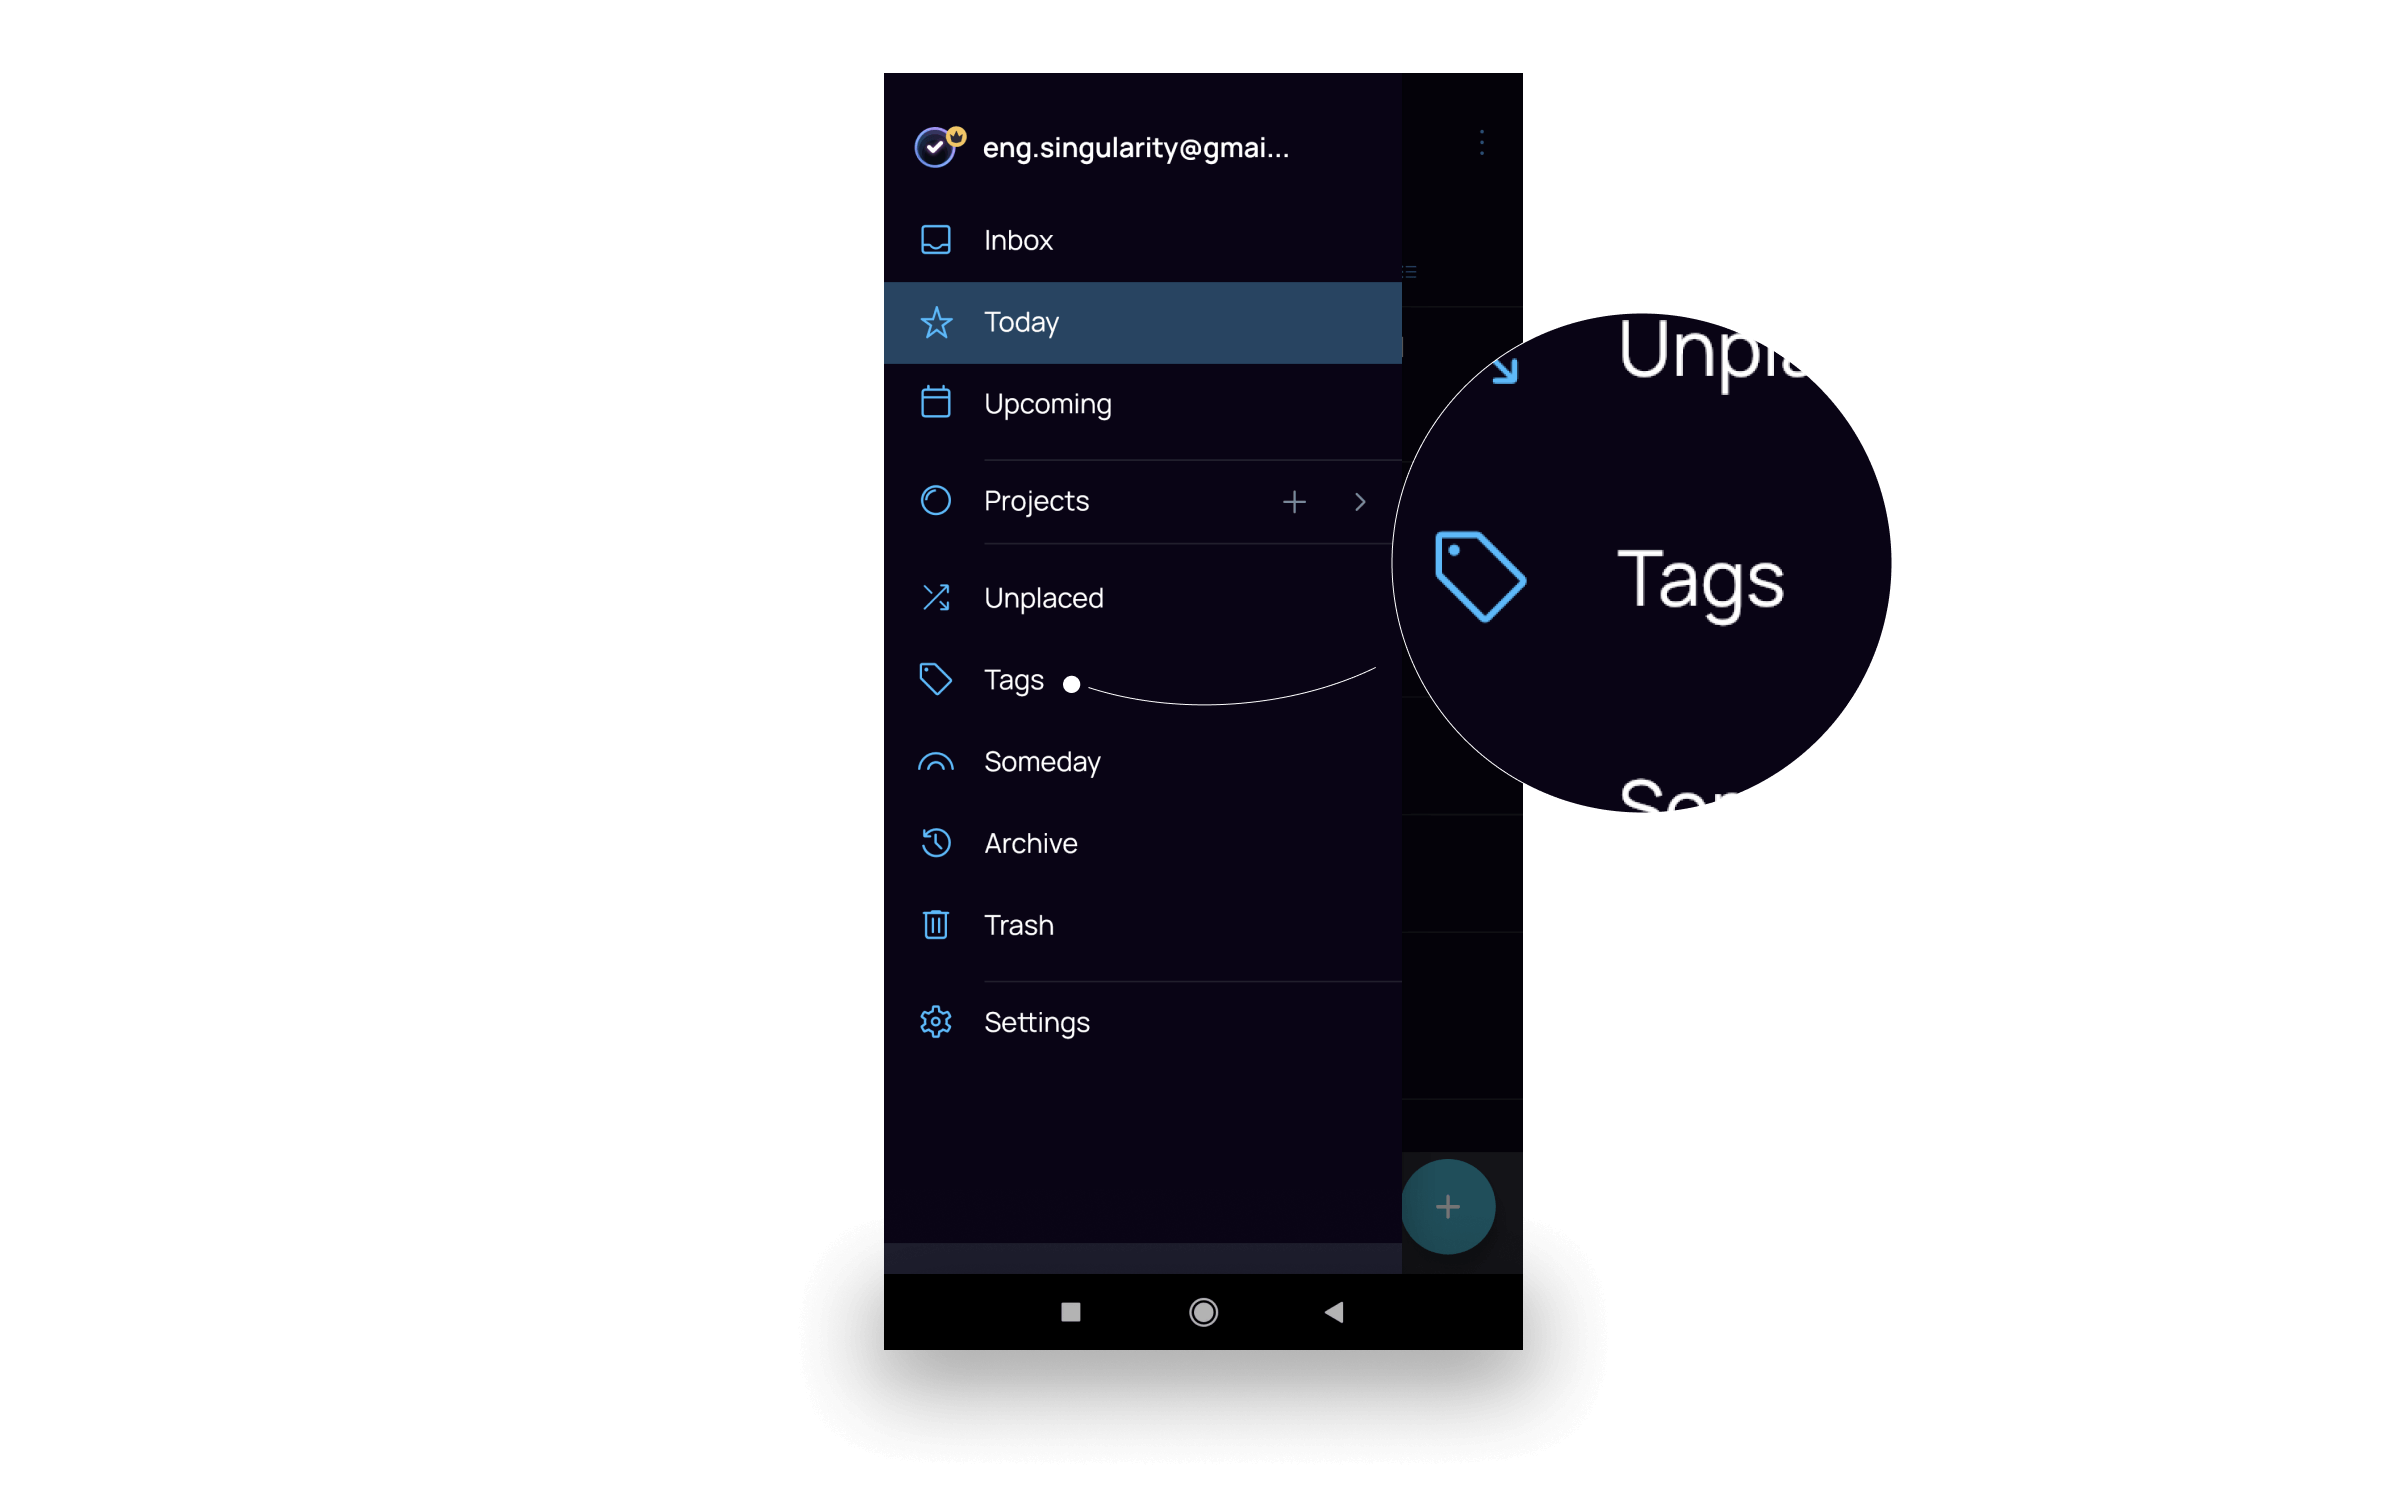
- Tags — зthis is where all tags are stored. The tags can be quickly found with the Search bar or can be nested within each other for the hierarchy you want;
- Someday — place here your wishes and desires as well as tasks without specific deadlines;
- Archive — this folder shows the completed tasks and paused projects;
- Trash — this folder shows deleted tasks grouped by months: near each one, there is a counter showing the number of deleted tasks (months can be minimized for compactness);
- Settings — the section for general settings, synchronization settings, calendars, backups and for problem solving.
Swipes #
Perform usual actions with tasks with a slightest touch of your hand:
- A short swipe to the right opens an icon with a checkmark
 for completing a task and a calendar icon
  with a window for setting a date. A long swipe to the right will complete the task (or return it from the archive). Another long swipe to the right — unchecks the completion of the task.
 - A short swipe to the left opens the cross icon
 for moving from section to section and the trash icon
  for removing a task. Long swipe to the left — removes the task.
 - Swipe to the right in the «Trash bin» will restore the task from the removed ones, swipe to the left — deletes it forever.
- Swipe to the right in the tags section adds a tag to favorites, swipe to the left removes it.
- Swipe down synchronizes the application with the server and other devices, and archives already completed tasks.
- With swipes, you can quickly work with checklist items inside tasks: right — execute, left — delete.
Tags #
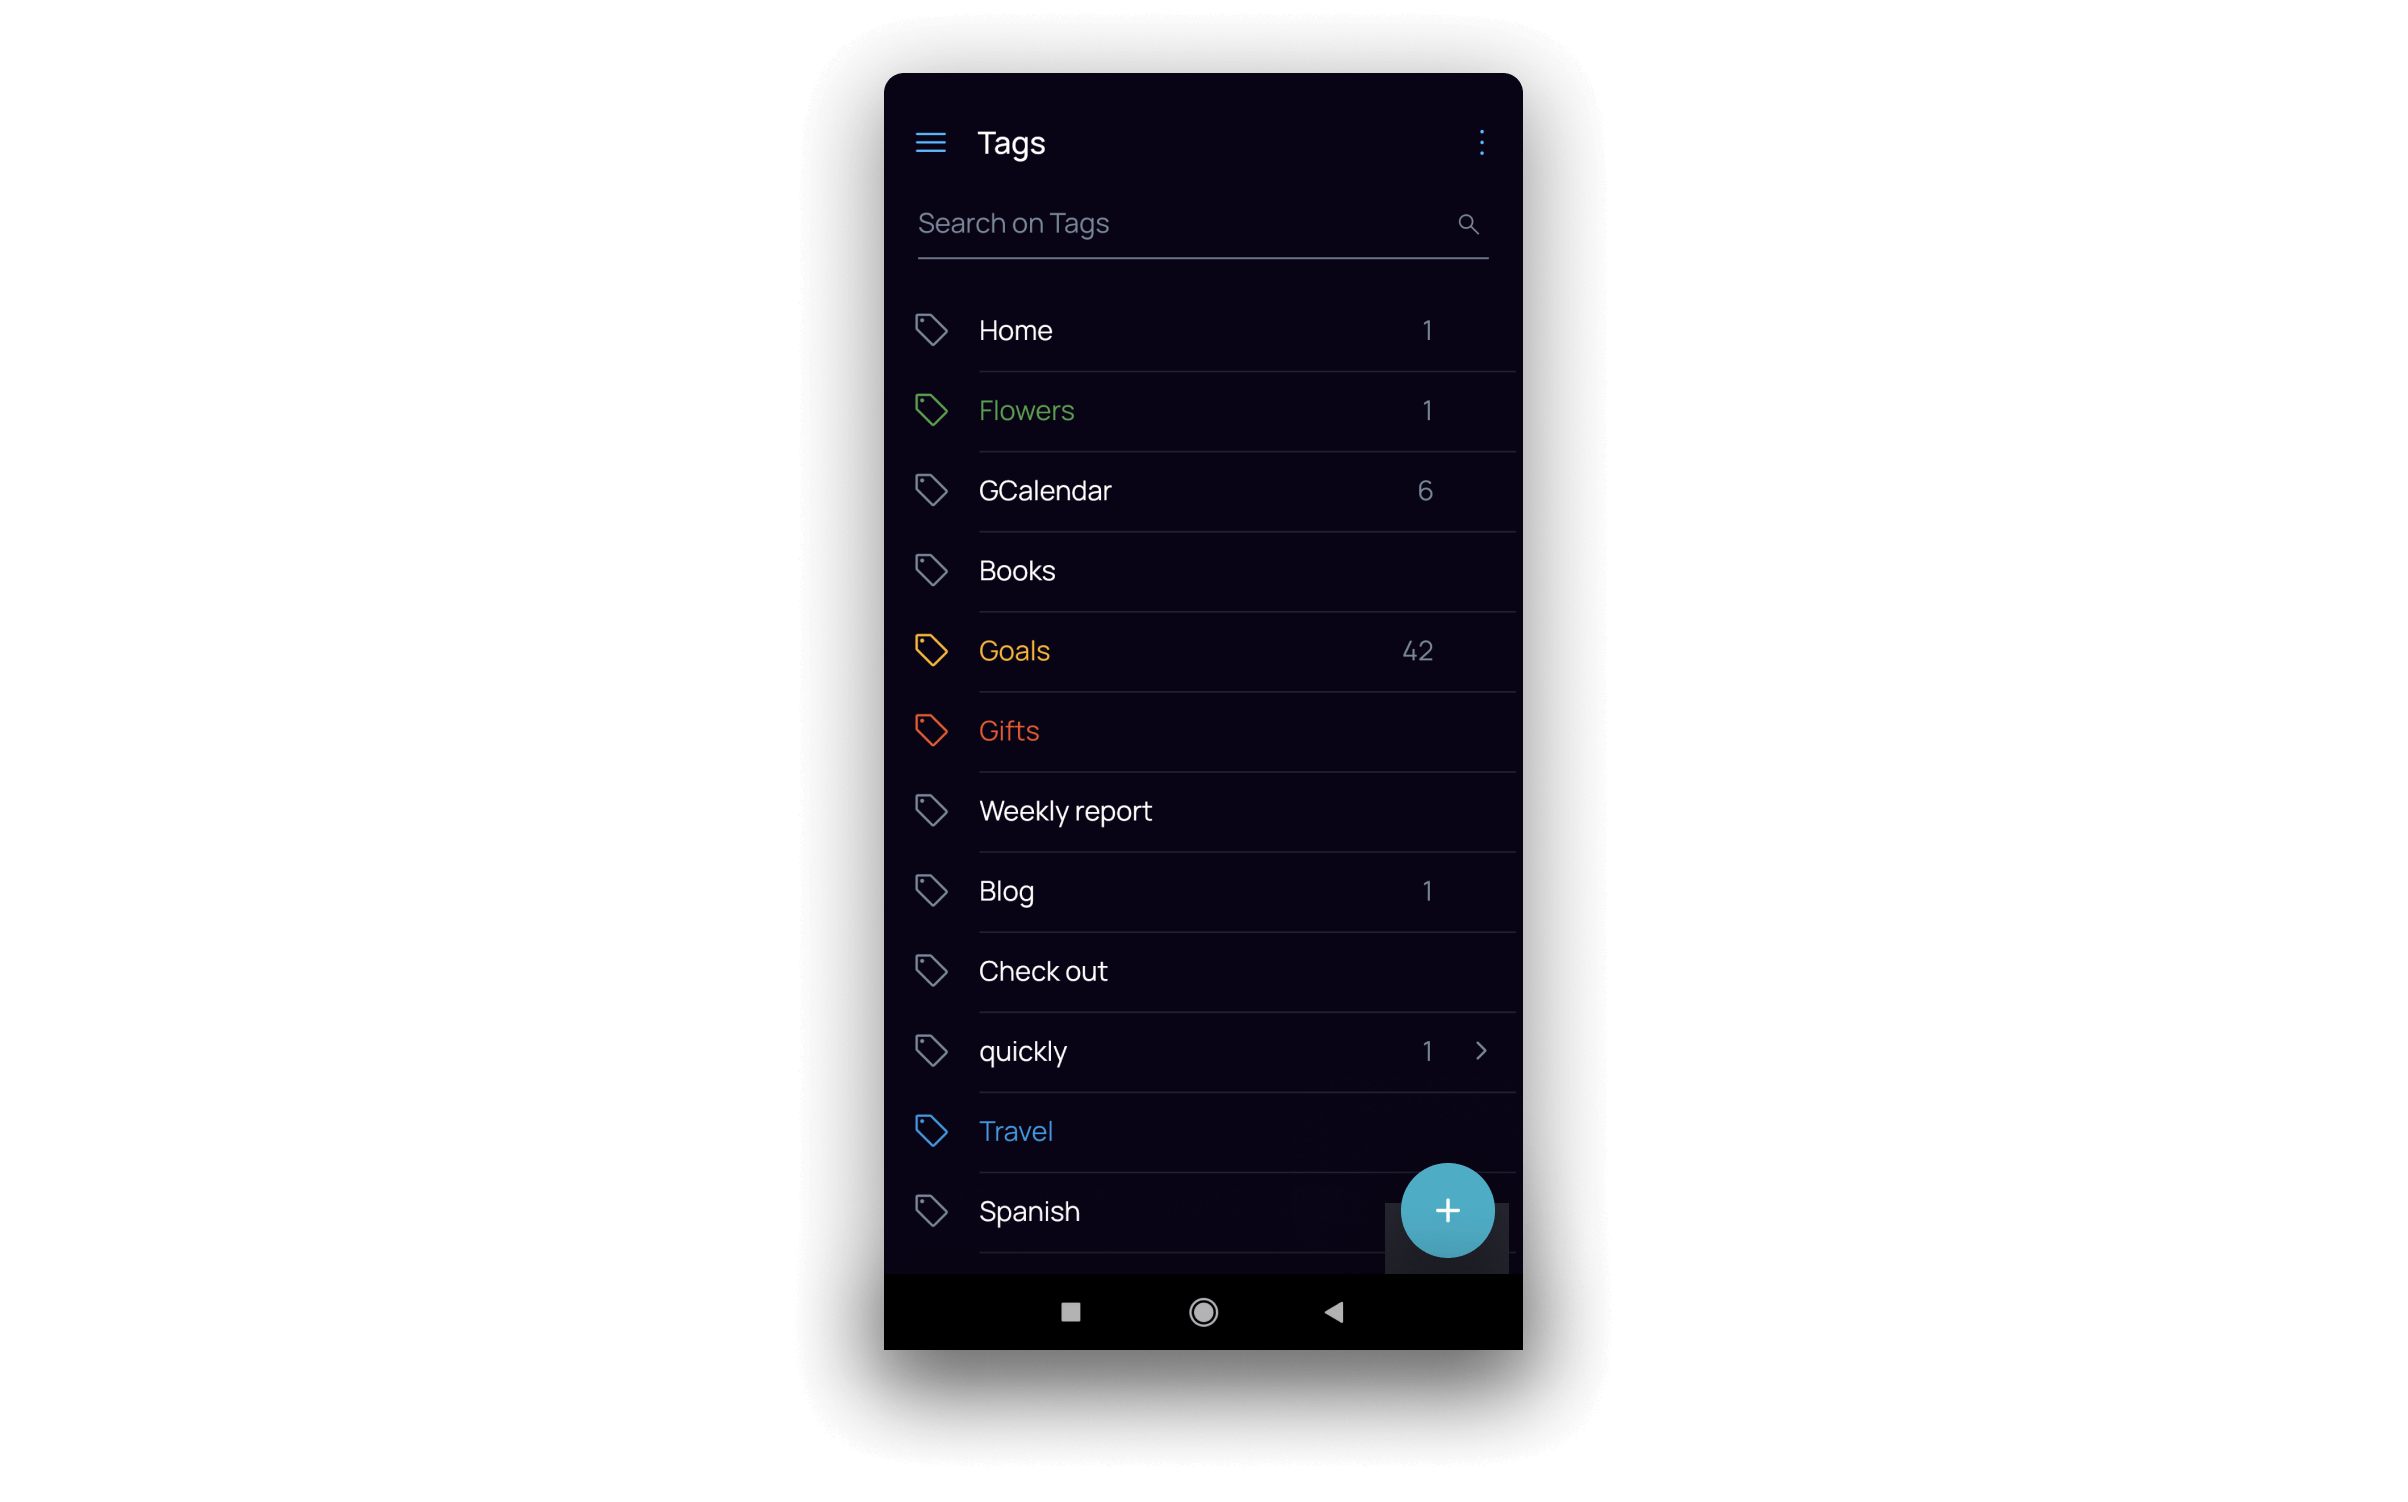
All created tags go to the tags section, which can be found at the bottom of the sidebar. Here you can:
- create new tags by clicking on the plus icon at the bottom right;
- search for tasks by clicking on the selected tag — the application will show a list of already completed and not yet completed tasks with this tag from all the projects and sections;
- nest tags in each other indefinitely using Drag’n’Drop.
To edit an existing tag, press and hold on the tag — pencil or trash icons will appear. You can either change the name of the tag or remove it. You can also swipe left to remove a tag.
To add a tag to your favorites — swipe right.