Voice input #
Immediately upon installation, the application will ask for your permission to record your voice for creating tasks with voice input. In the free version, you can create 10 tasks with your voice, in the Pro version their number is unlimited.
To add a new task, press and hold the plus icon in the lower right corner. A speech recognition window will appear to quickly add a task with your voice.
Task creation #
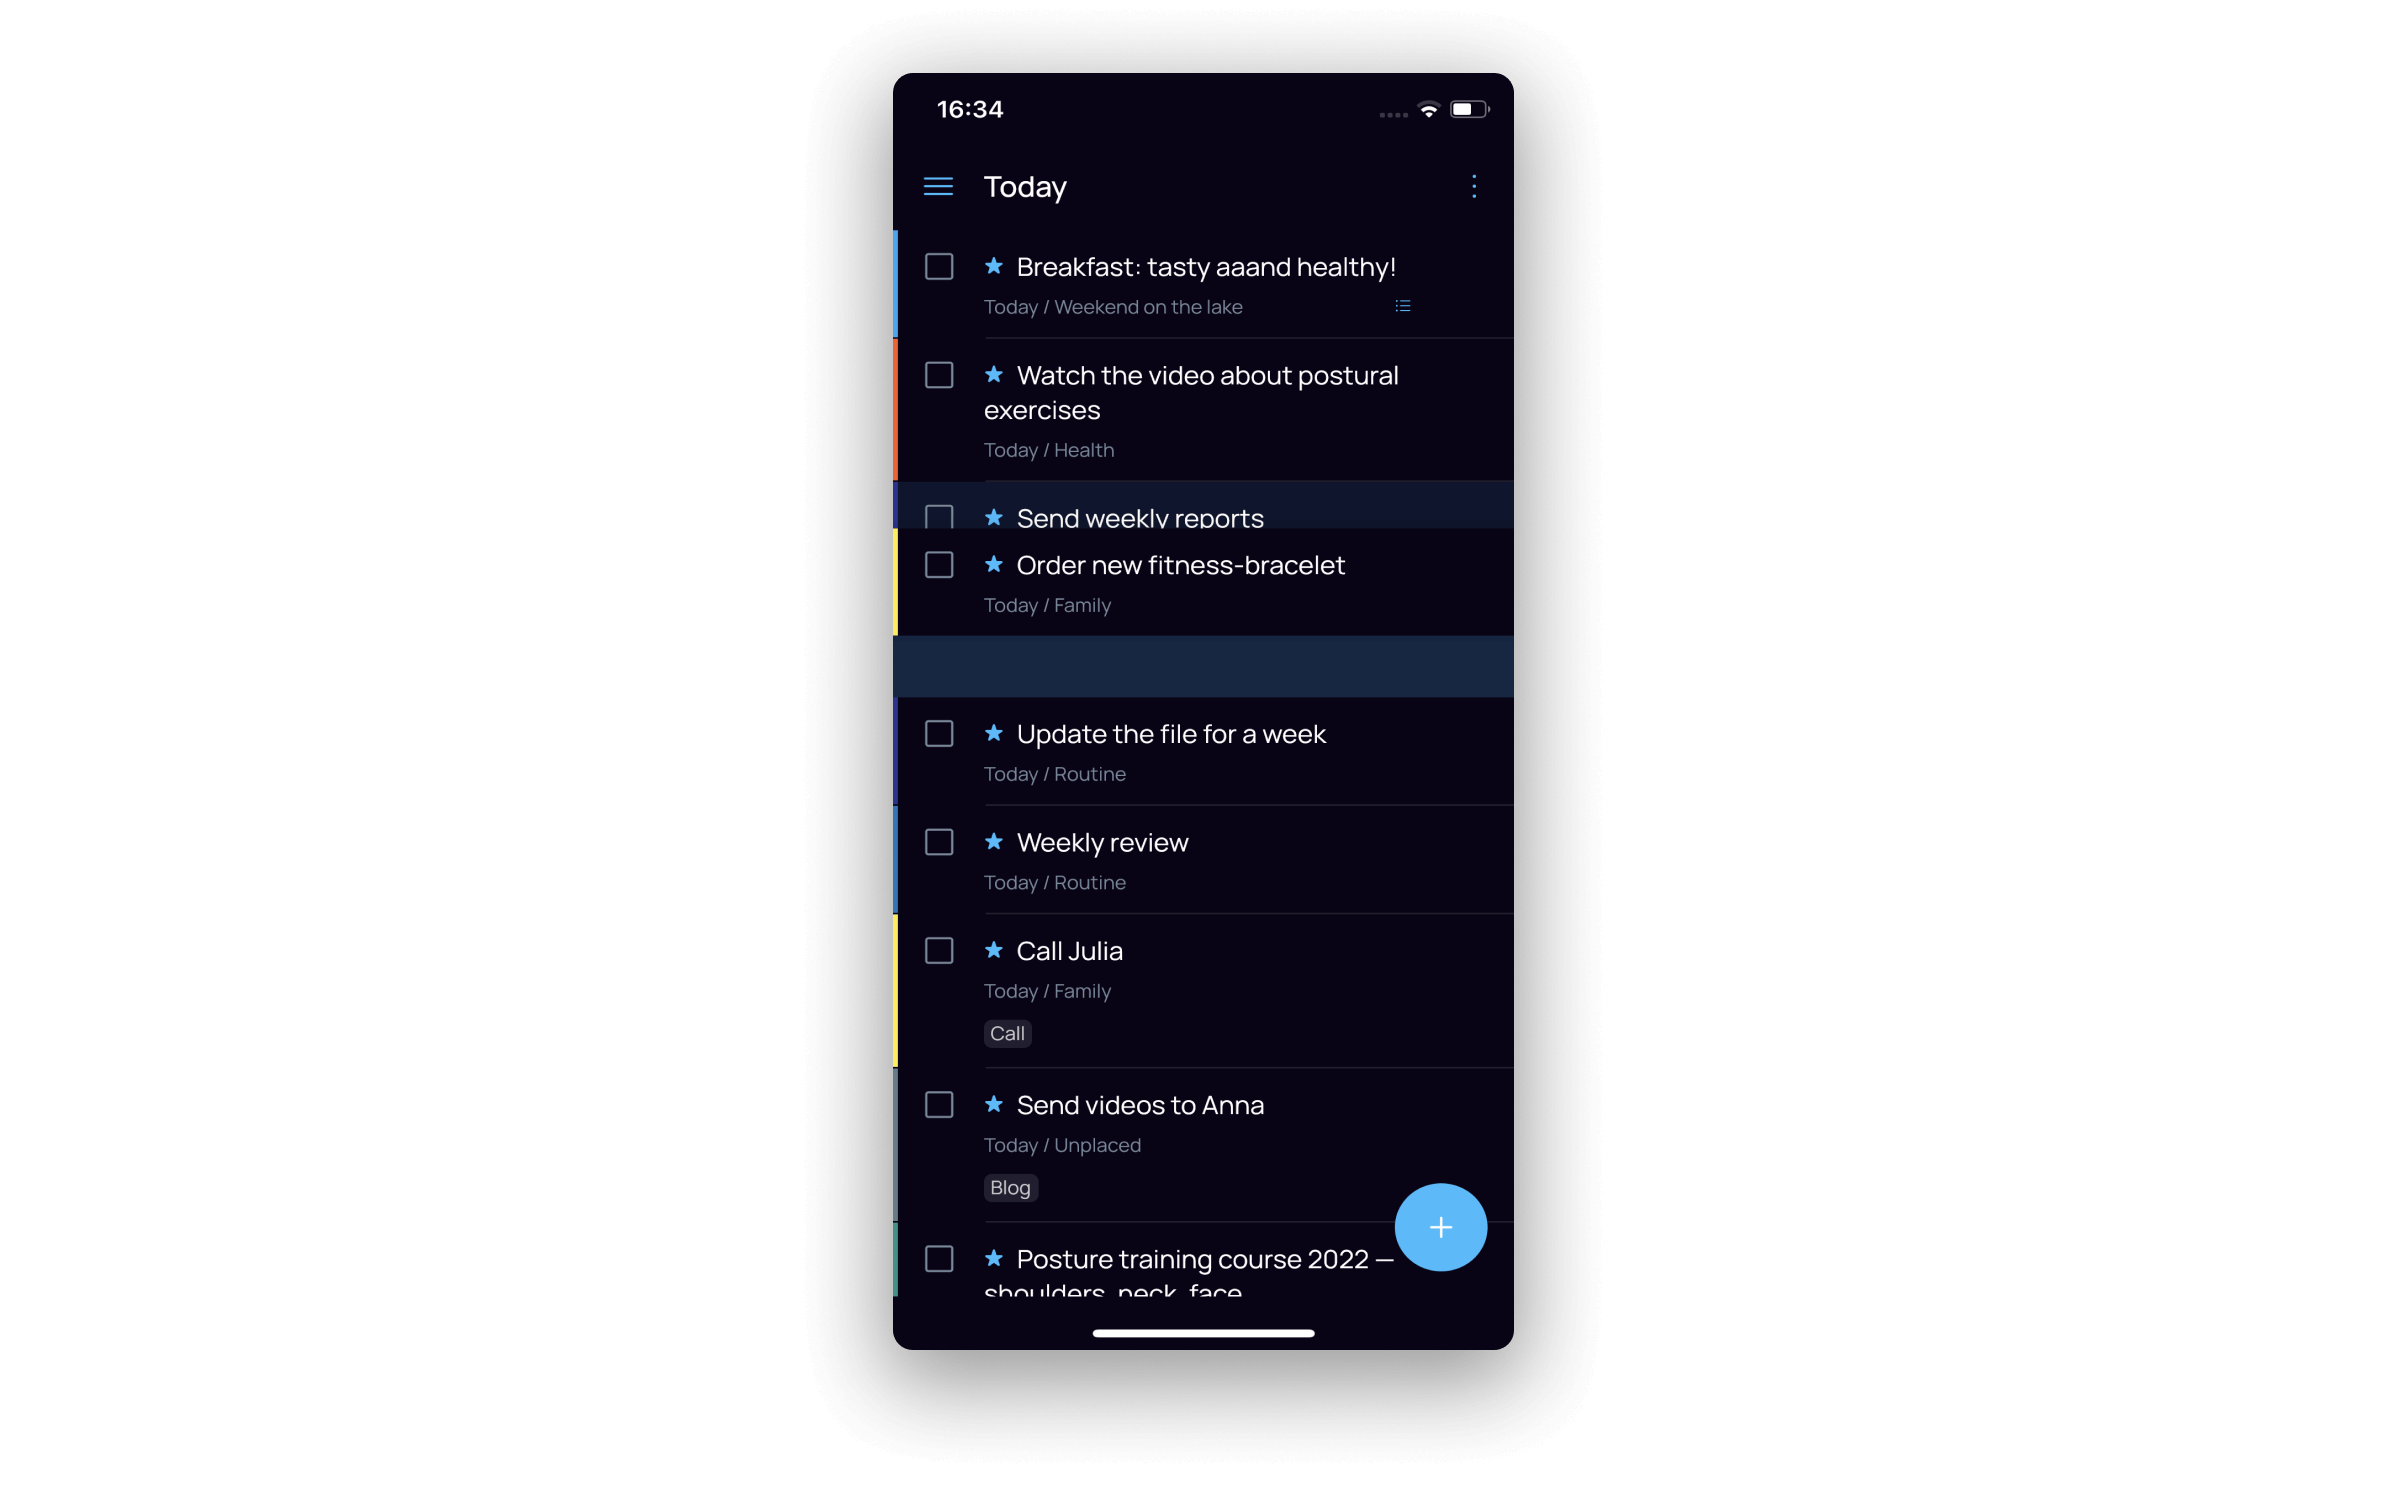
Click on the button at the bottom right and a window for entering a text with several parameters will appear.
You can immediately assign a priority, date, tag, and a project to a task by clicking on the icons on the panel for quick task creation, or you can select the double arrow icon on the right in advanced settings.
Adding tasks through email #
To create tasks in SingularityApp through your email, open the side menu and click on the envelope icon to make the address appear in a pop-up window. Copy and send anything you want from your email to this address and the task will immediately appear in the application (only available for the Pro version).
Editing tasks #
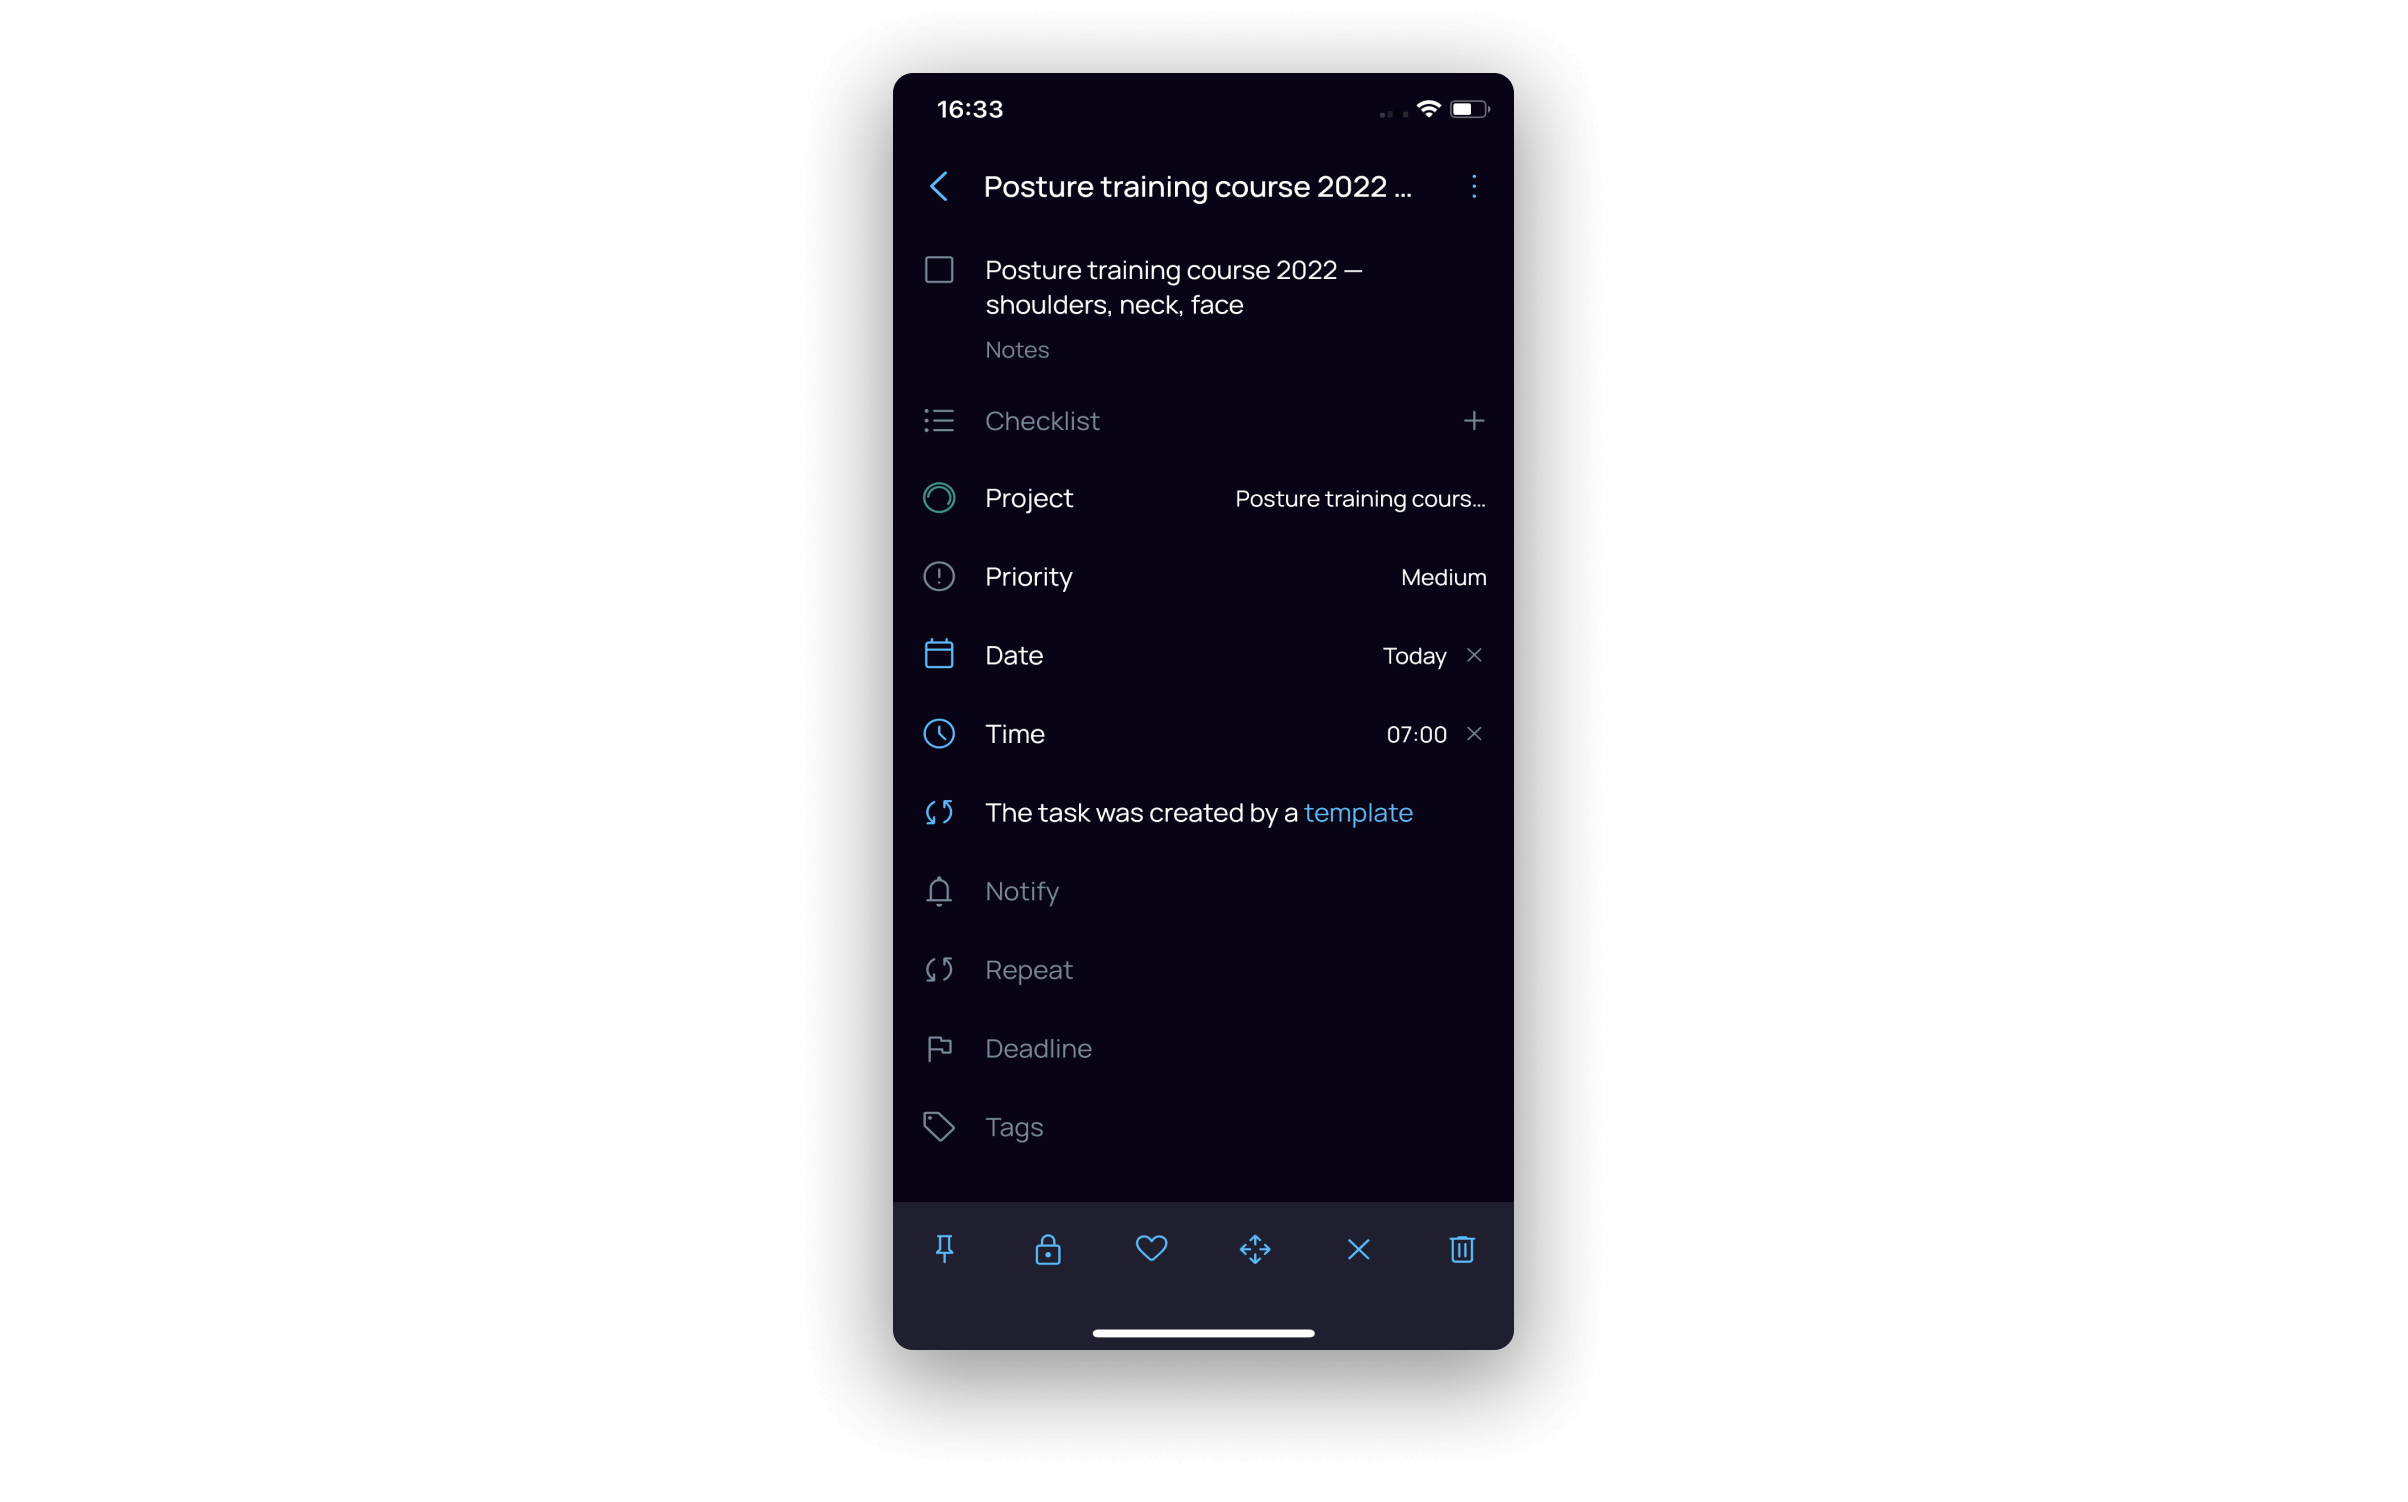
When you click on the created task, the window of advanced settings will open, here you can assign all the parameters as in the PC version:
- Priority,
- Due date,
- Due time,
- Reminder,
- Task recurrence (with advanced settings),
- Deadline,
- Tags,
- Check-list.
Read more about recurring task advanced settings
When editing a task, six icons will appear on the panel below:
Pin the task in the list
Add a password
Add the task to favorites
Move to another section or project
Cancel (the task will be moved to Archive and there will be X icon instead of a checkmark)
Delete the task

Moving tasks #
To change the task order in the list, use Drag’n’Drop: hold and drag the task up or down. With the help of Drag’n’Drop, you can also nest one task into another, building up their hierarchy endlessly. The Drag’n’Drop option works in all sections except for Archive and Recycle Bin.

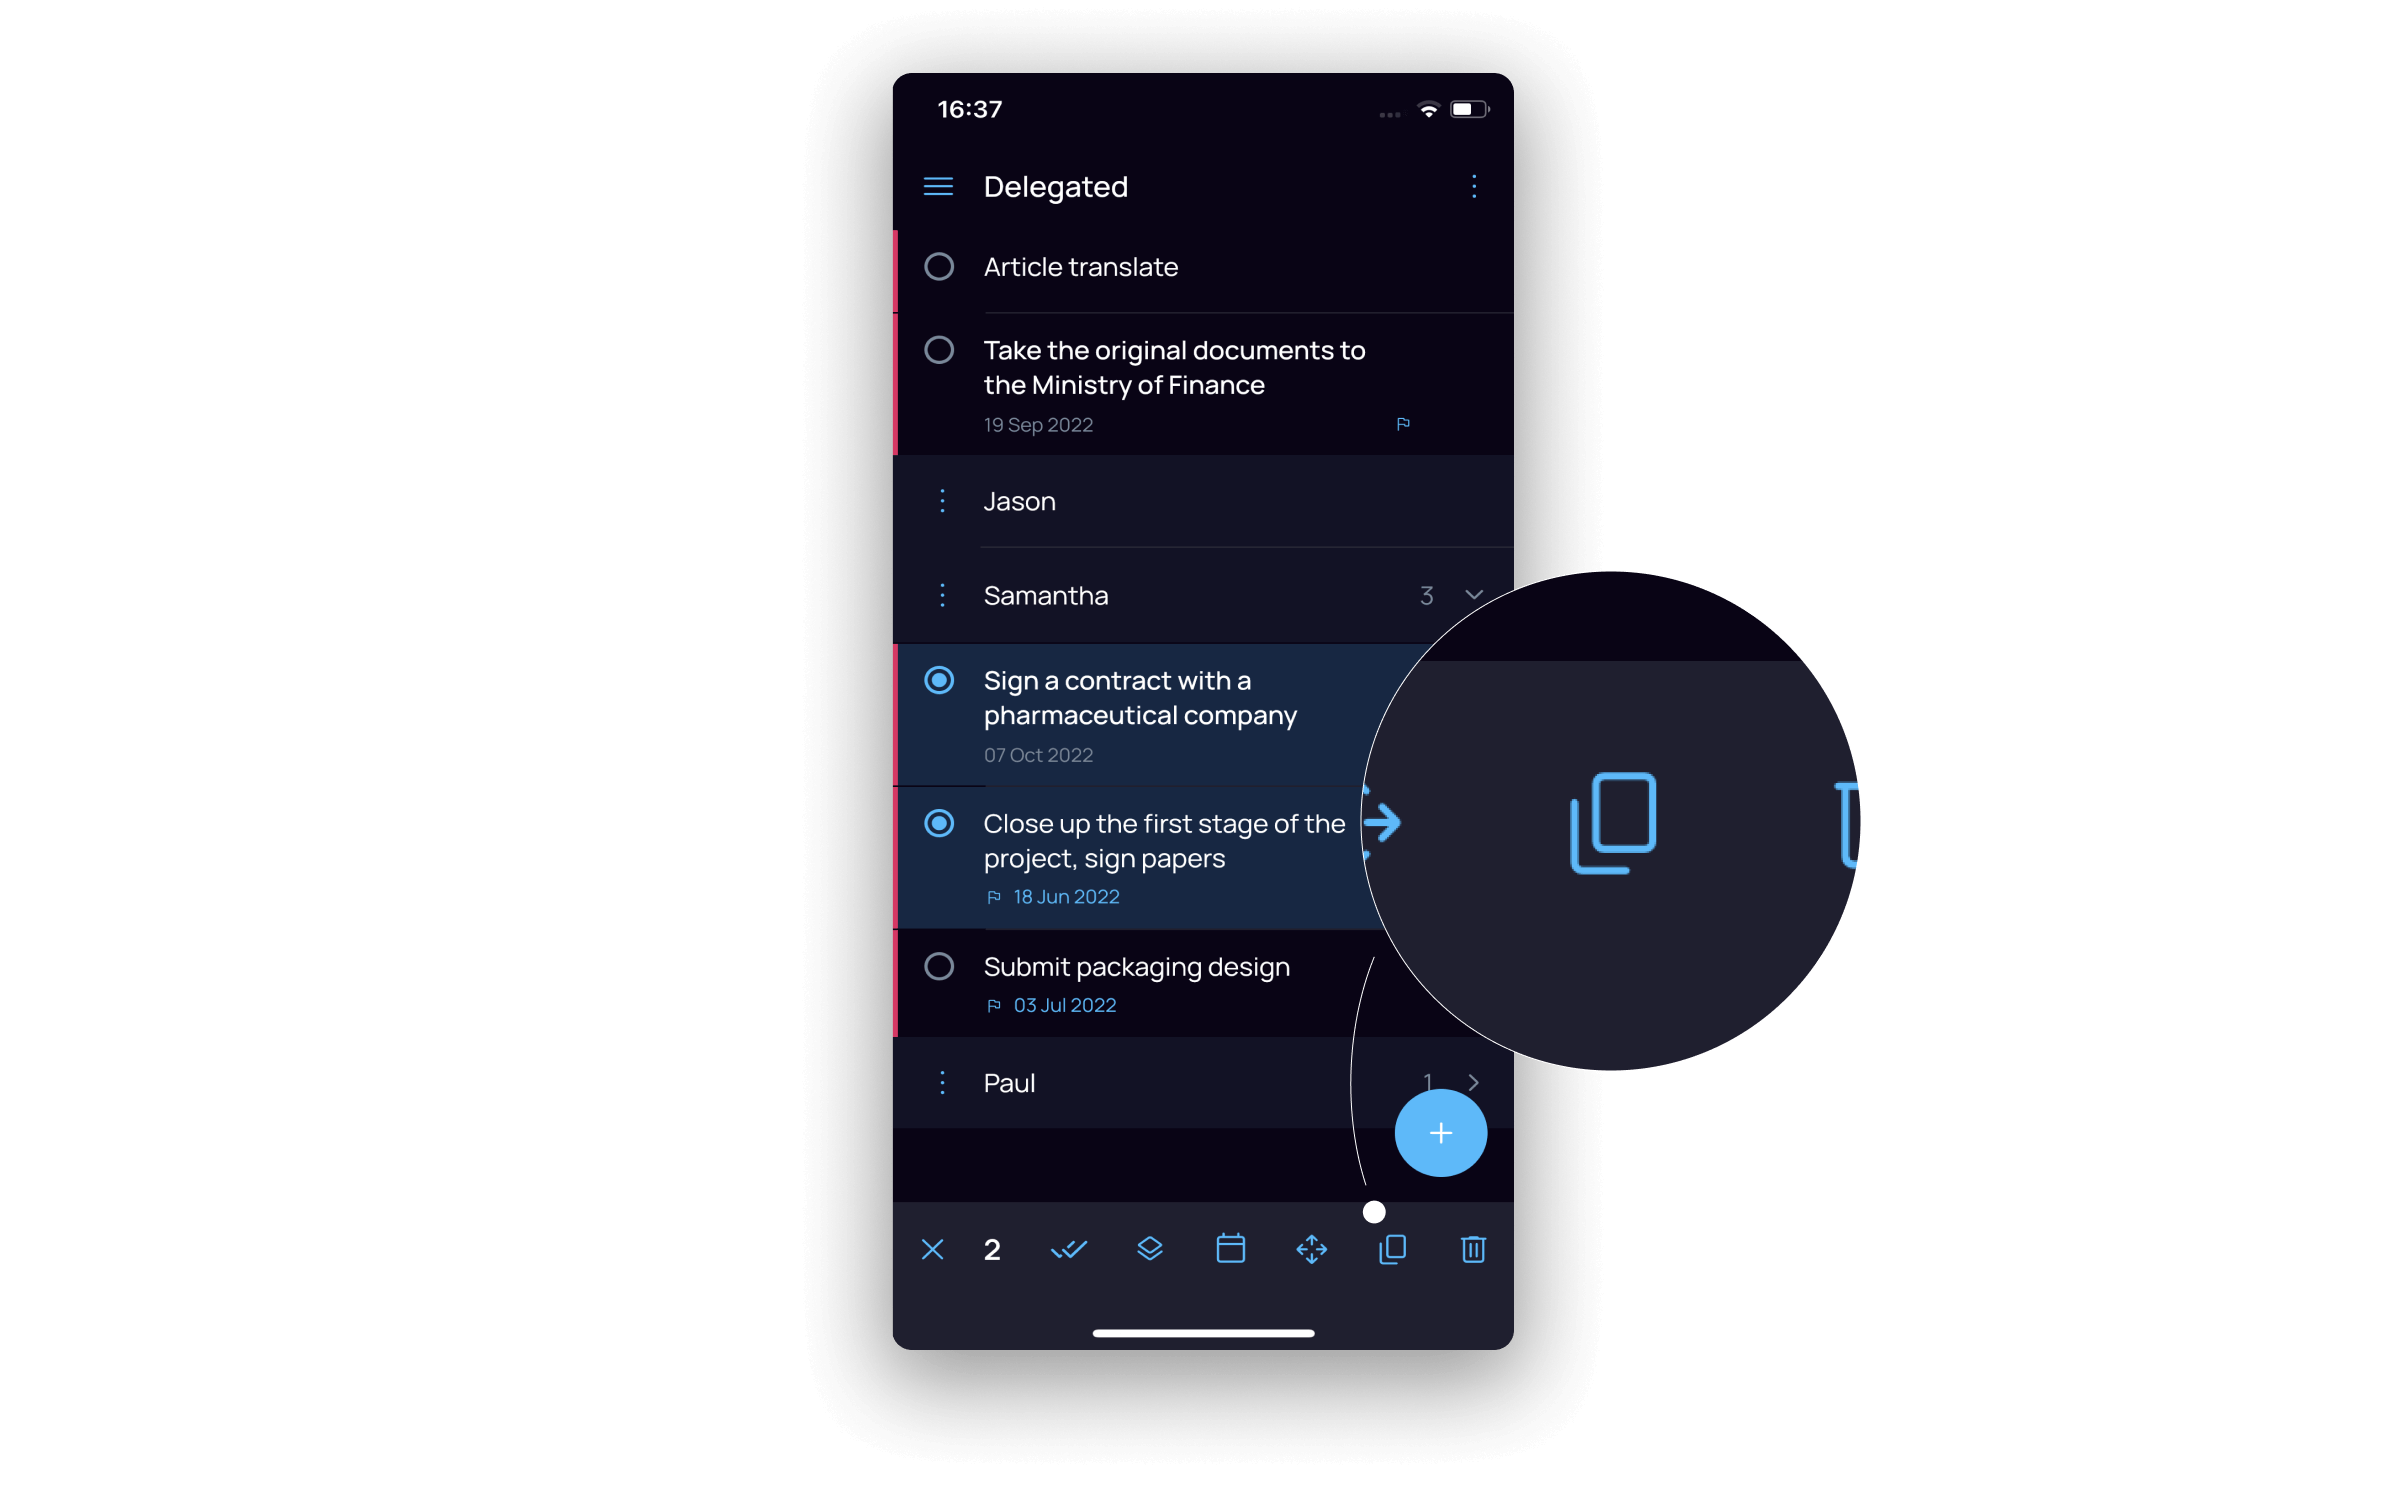
To move several tasks from one section to another at once (for example, restore them from Archive or change a project), click on one of them and hold — the indicator on the bottom panel counts the number of selected ones, and you can remove the highlighting by clicking on X 
When some tasks are selected, click on 

In the same way, you can simultaneously check and delete a group of tasks or change their dates at once. And inside projects, you can also move tasks from section to section using the icon 
Copying Tasks #
To copy one or more tasks, click and hold the first task you wish to copy, then select the other ones. Then click on the icon 

You can paste your copied tasks into Inbox, Today, Unplaced or into any of your projects. After that, they will be at the very bottom of the list or selected section.
When you copy tasks, remember:
- if you copy nested tasks together with the parent one, their hierarchy will be saved; if you copy only nested tasks, they will become independent, and will not be linked to their parent task;
- if you copy a task that has a due date and time to Inbox, Unplaced, or a project folder, the task will still have the due date and time; when you copy this task and paste it into Today, the time will be saved, but the date will automatically change to today;
- if you copy a recurring task, there will be created its single copy, but not a copy of the recurring template;
- if you copy a task and then delete the original one permanently, the clipboard will save the copy for pasting.


